The user guide · from the walkthrough and test run of 12 August 2026 · the markdown record is "2 - User documentation - Organisational Structure and HR.md"
What this screen is for: the parts of the business that work is organised into, such as Service, MOT or Finance. A department always belongs to one location, in one business, so both of those must exist before the department can. Teams then sit inside departments.
Where it is: Organisation Structure → Departments.
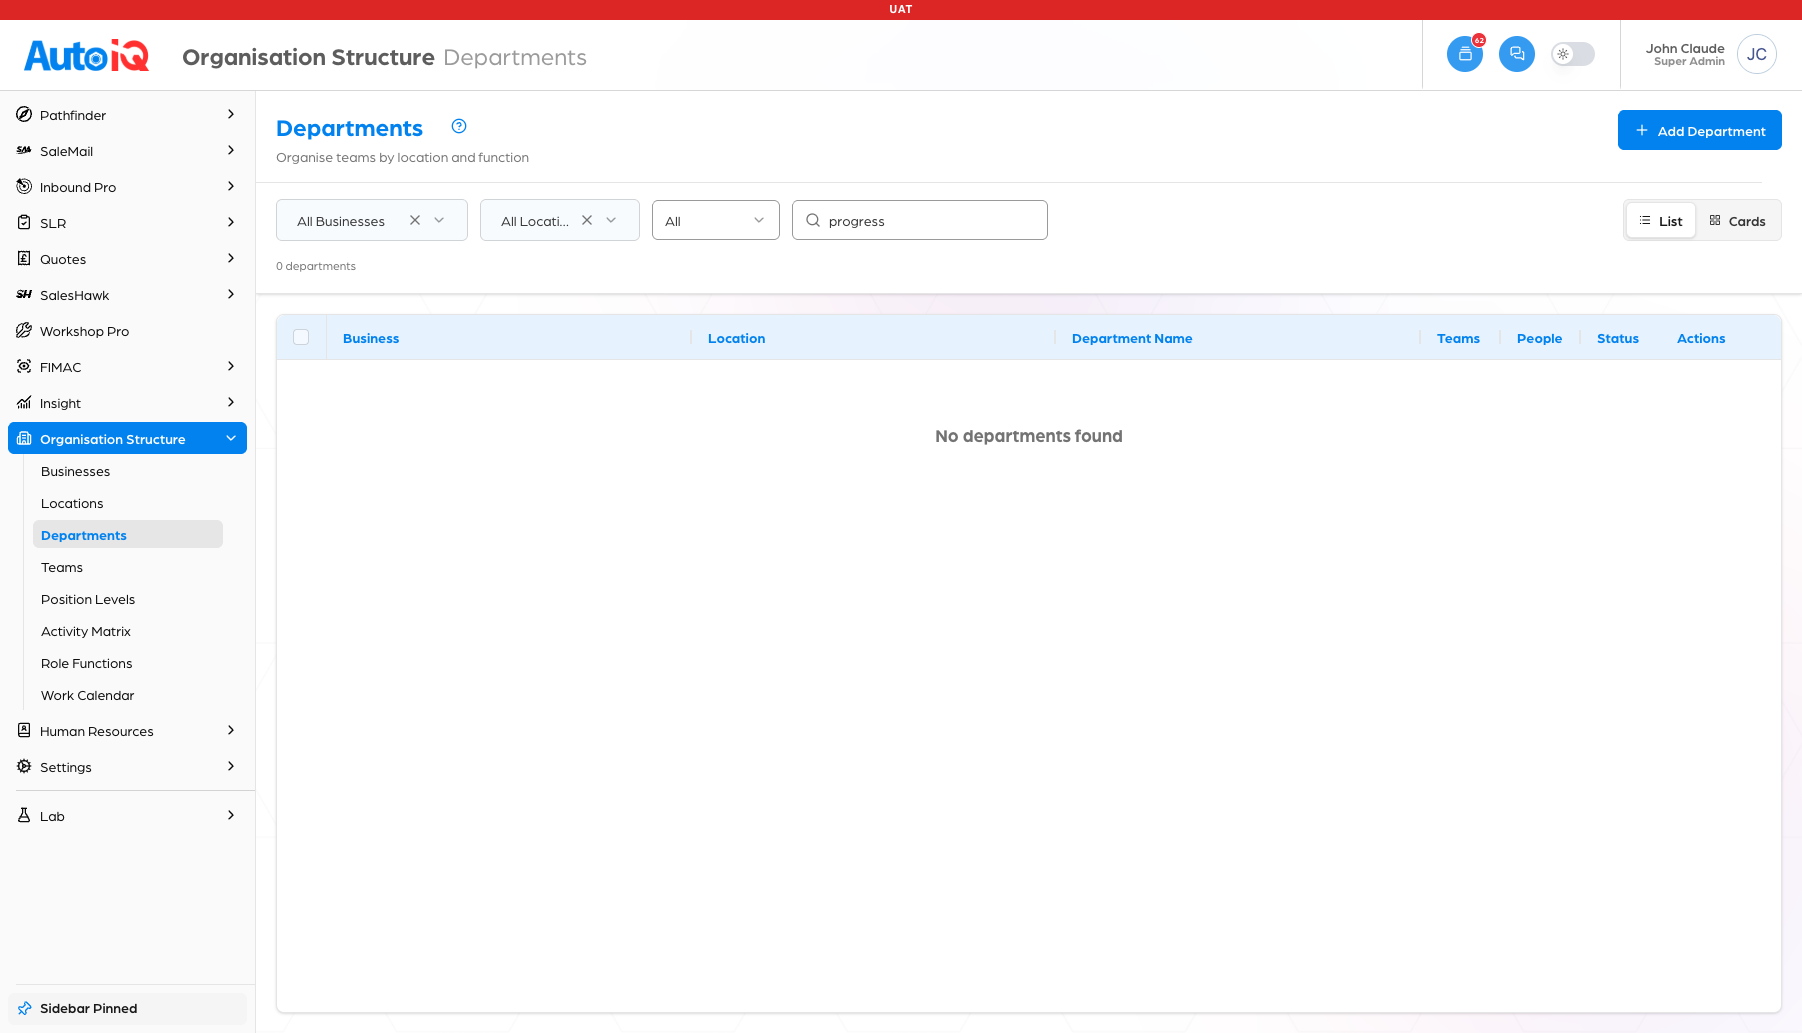
In the left menu, click Organisation Structure, then Departments. You'll see every department as a list: which business and location it belongs to, its name (with an optional short code in brackets), how many teams and people it holds, and its status. The count under the filters tells you how many you're looking at, and the pager at the bottom shows ten at a time to start with.
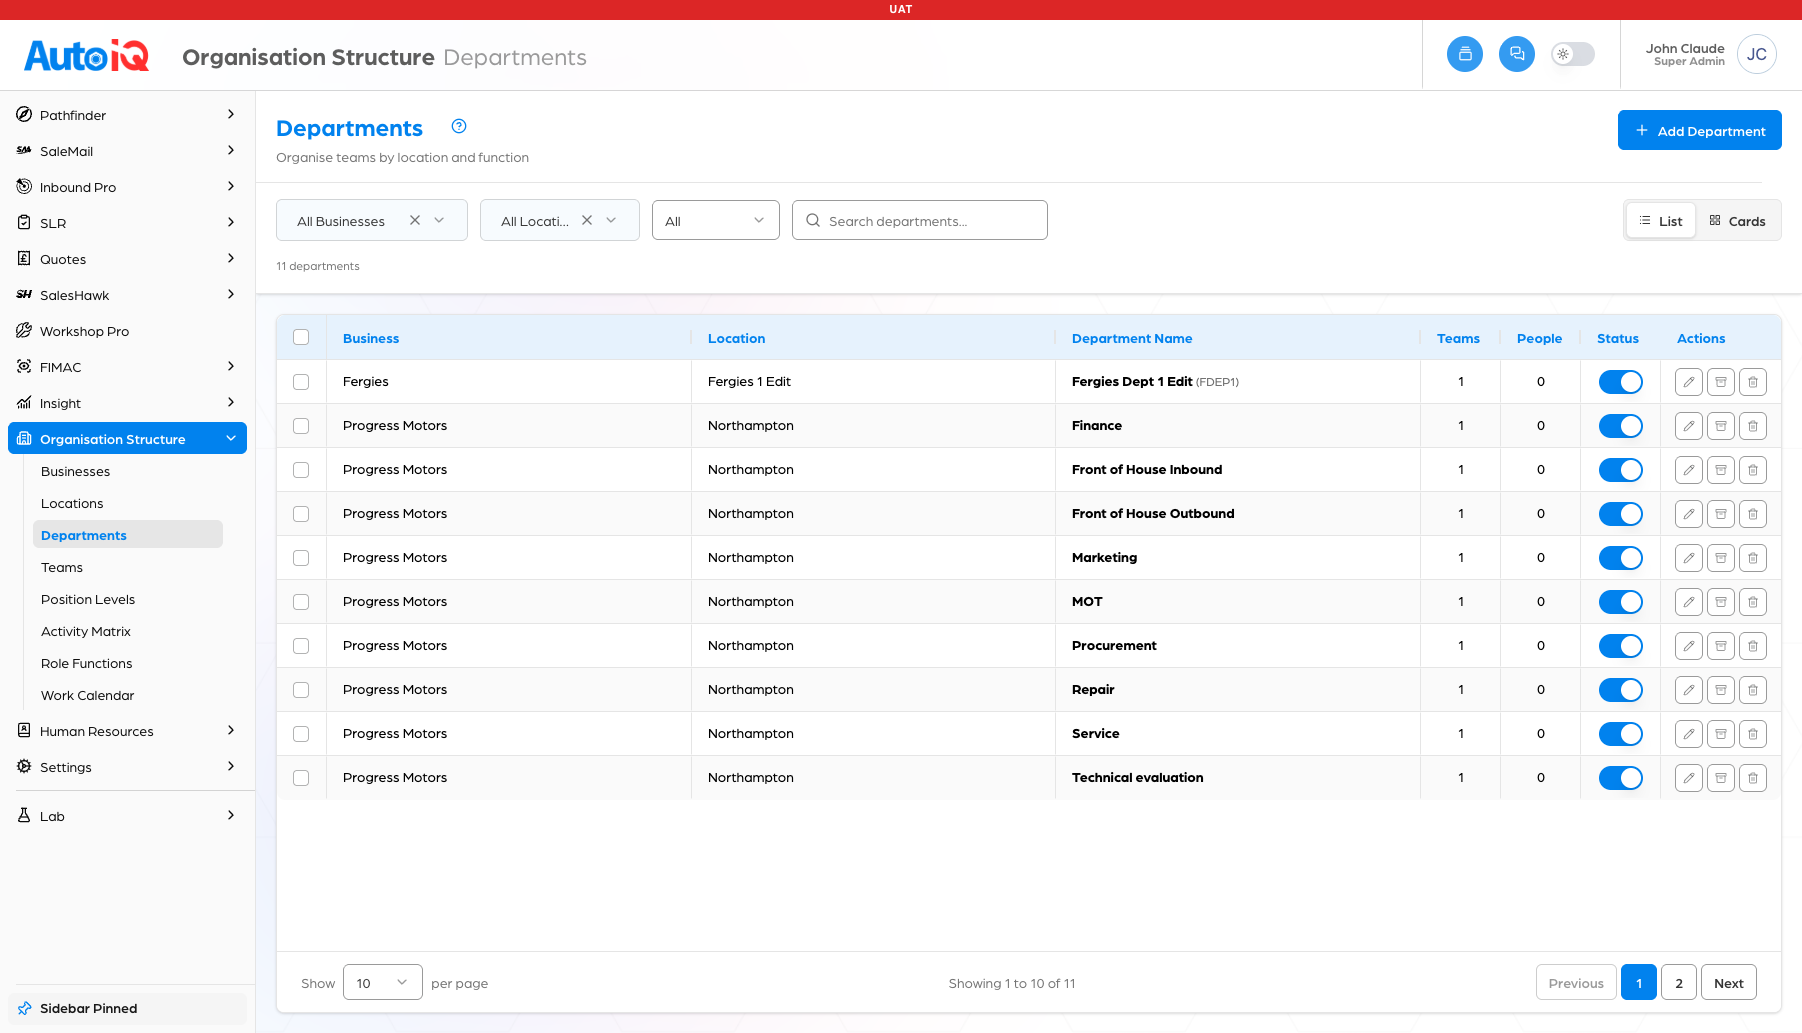
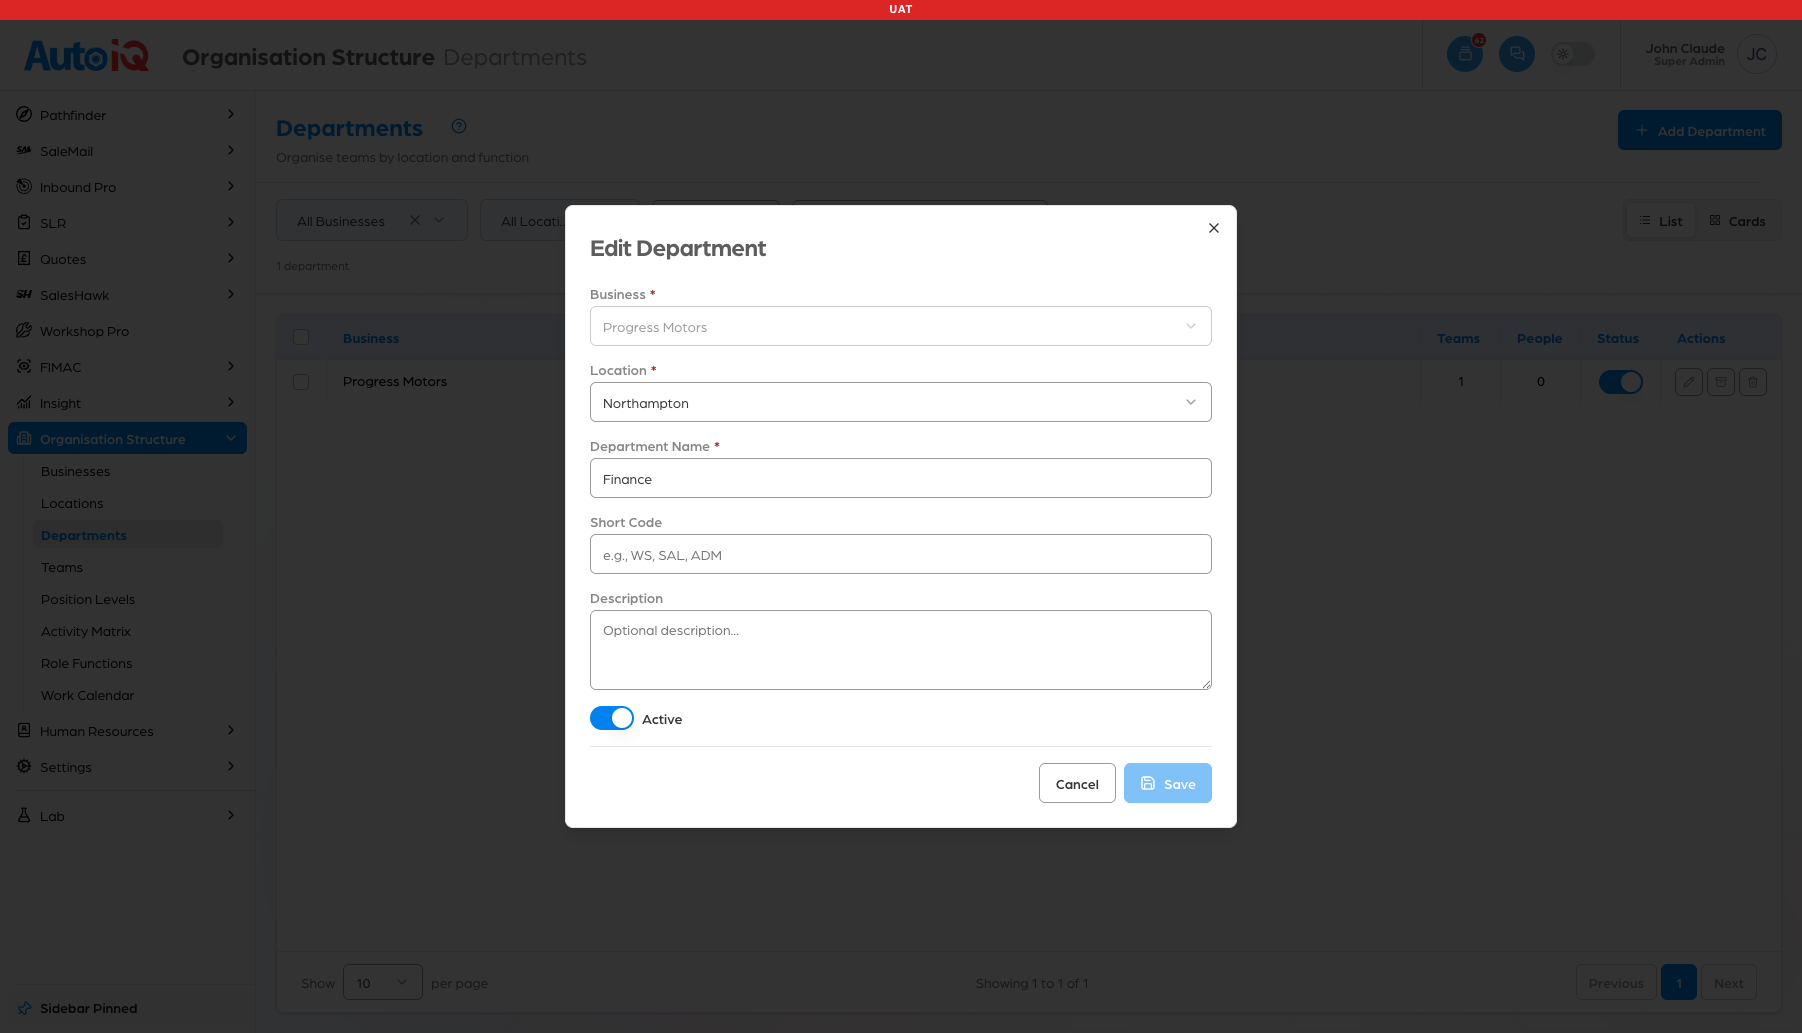
Save is greyed out when the form opens and comes alive once the business, the location and the name are all in. The form works top to bottom: the Location picker stays locked until you have chosen a business.
If the business you pick has no active locations, the Location picker stays locked and an amber message appears under it saying no locations are set up for that business. Read that message with care: it also appears when the business does have locations that are simply switched off. Check the Locations screen, switch the location back on (or create one), then come back.
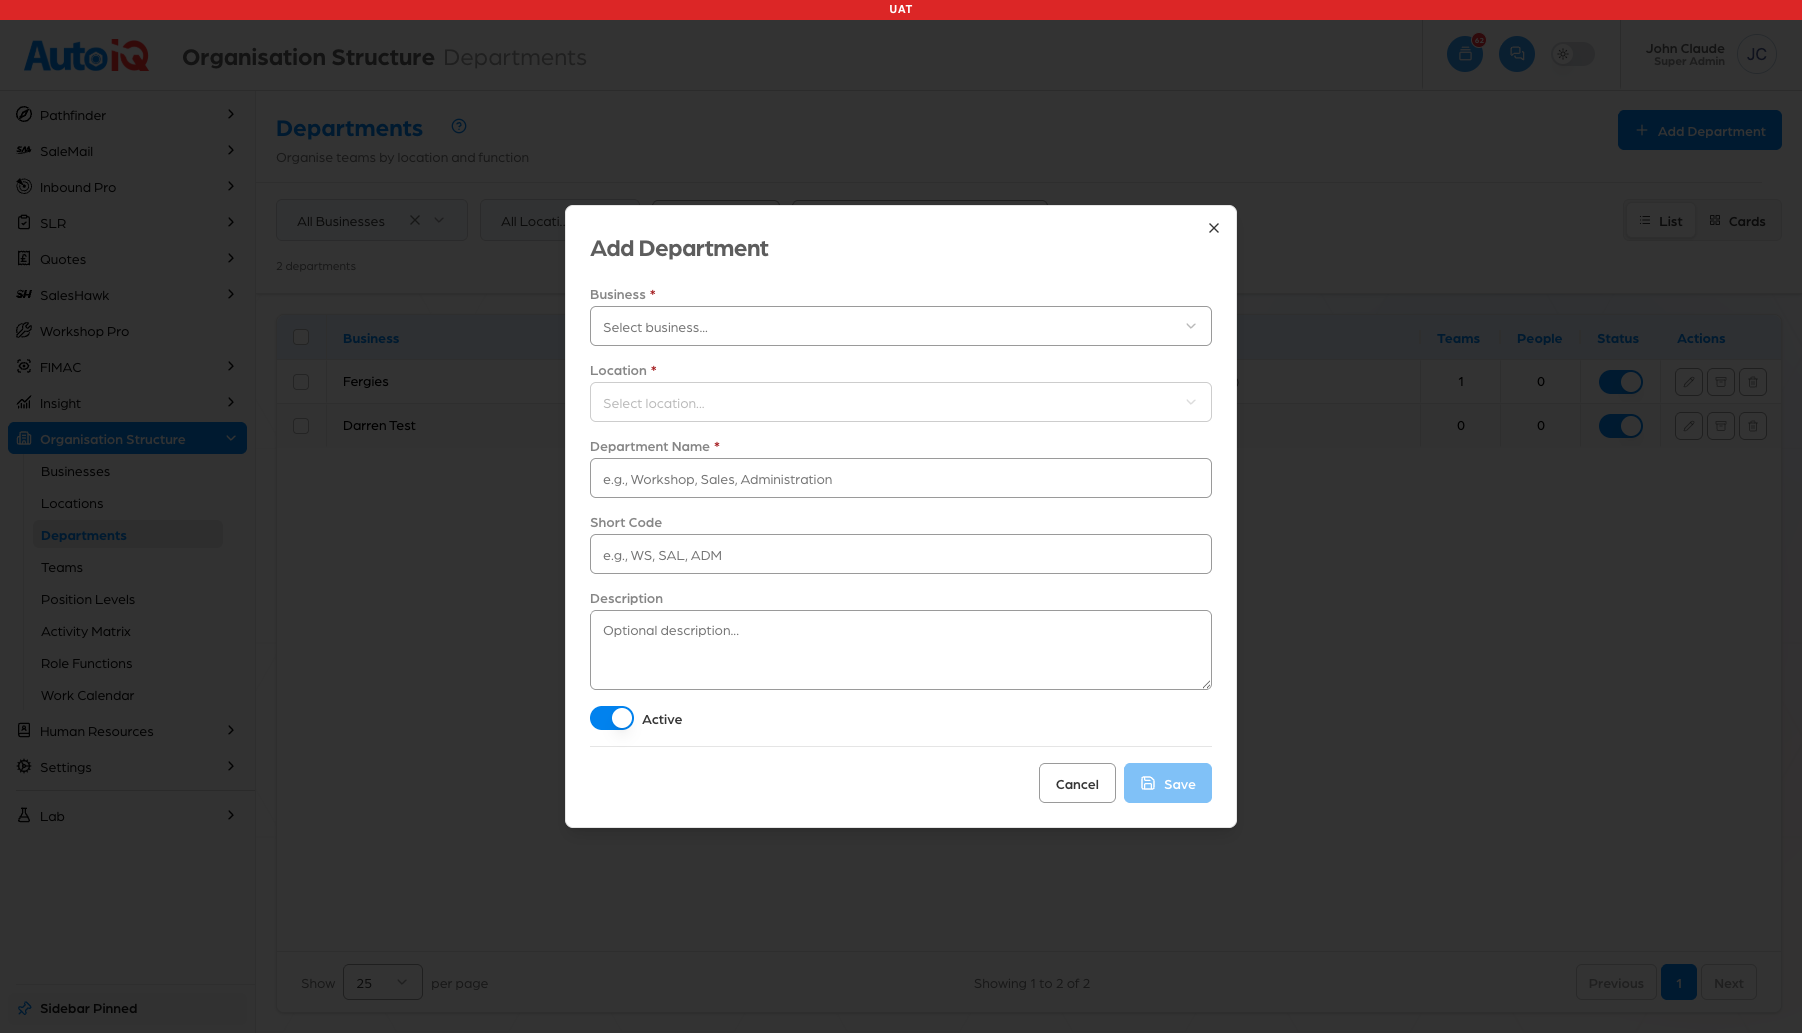
Here the form is filled the standard way: Progress Motors, Northampton, and the department named Finance.
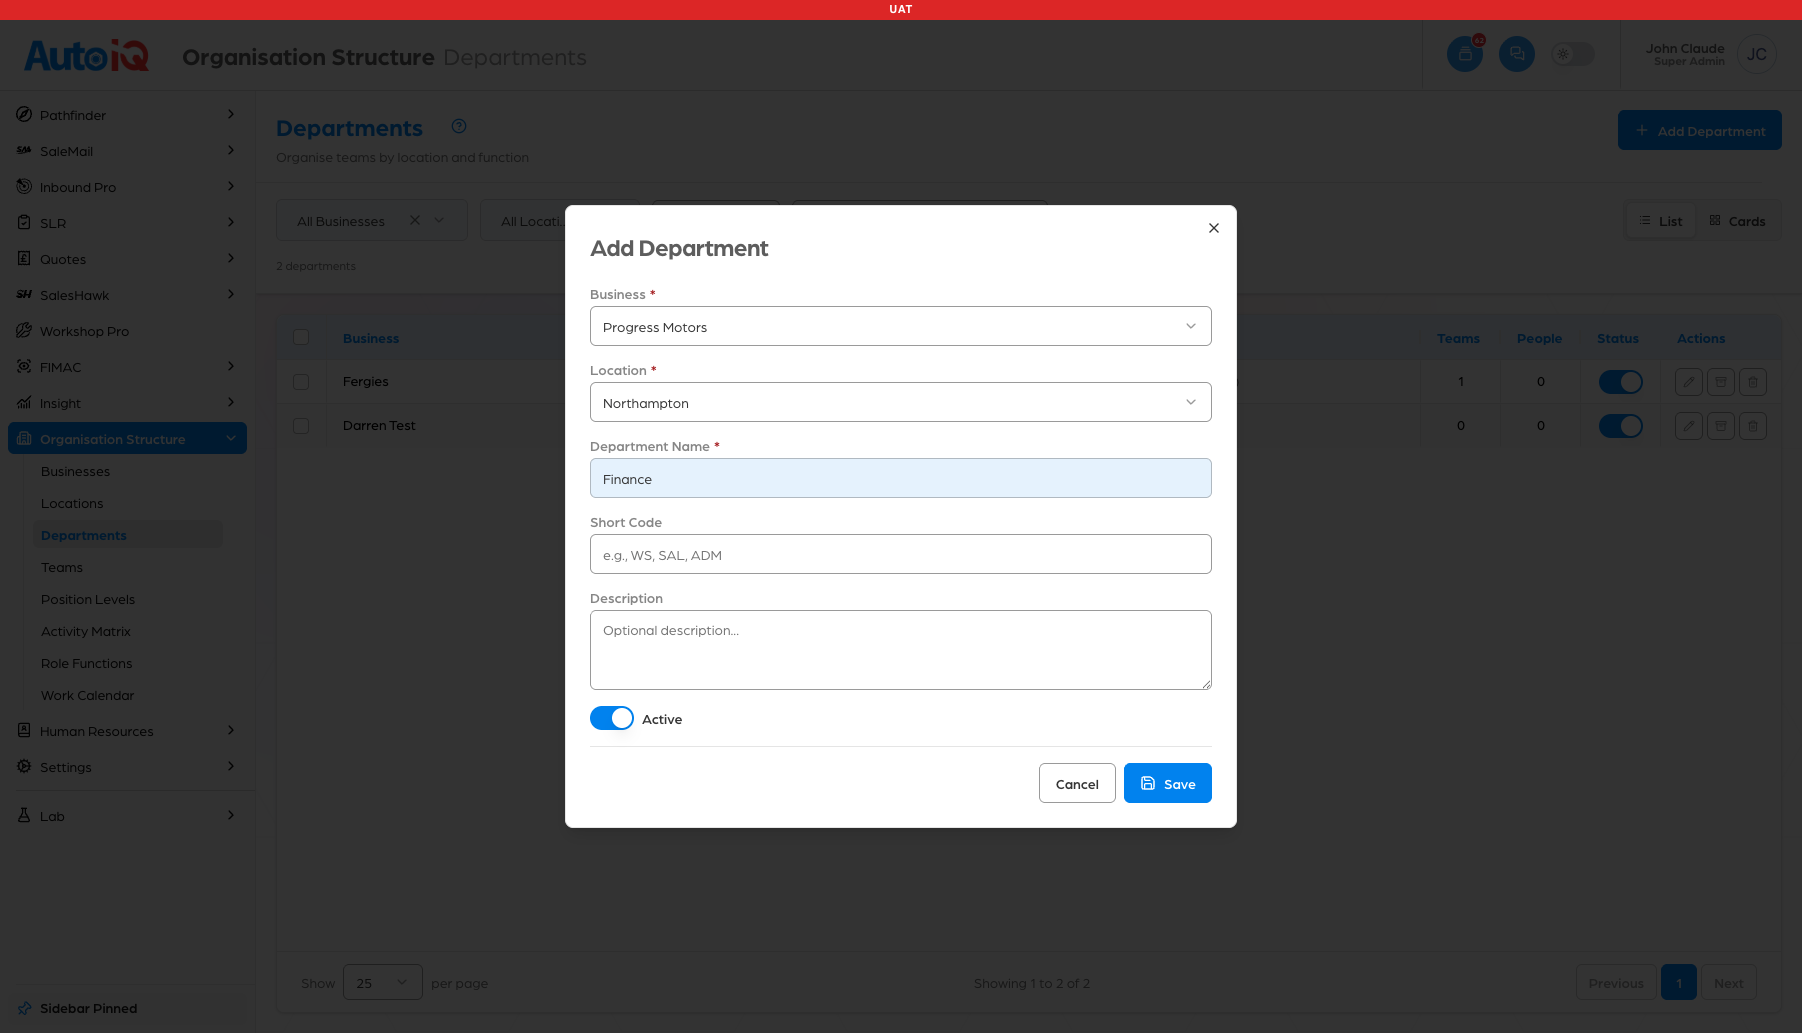
A green message confirms the save. Note what happens next on screen: the list itself does not change until you reload the page, so the new department is not in front of you straight away. Refresh the browser and there it is, with 0 teams and 0 people until you fill it.
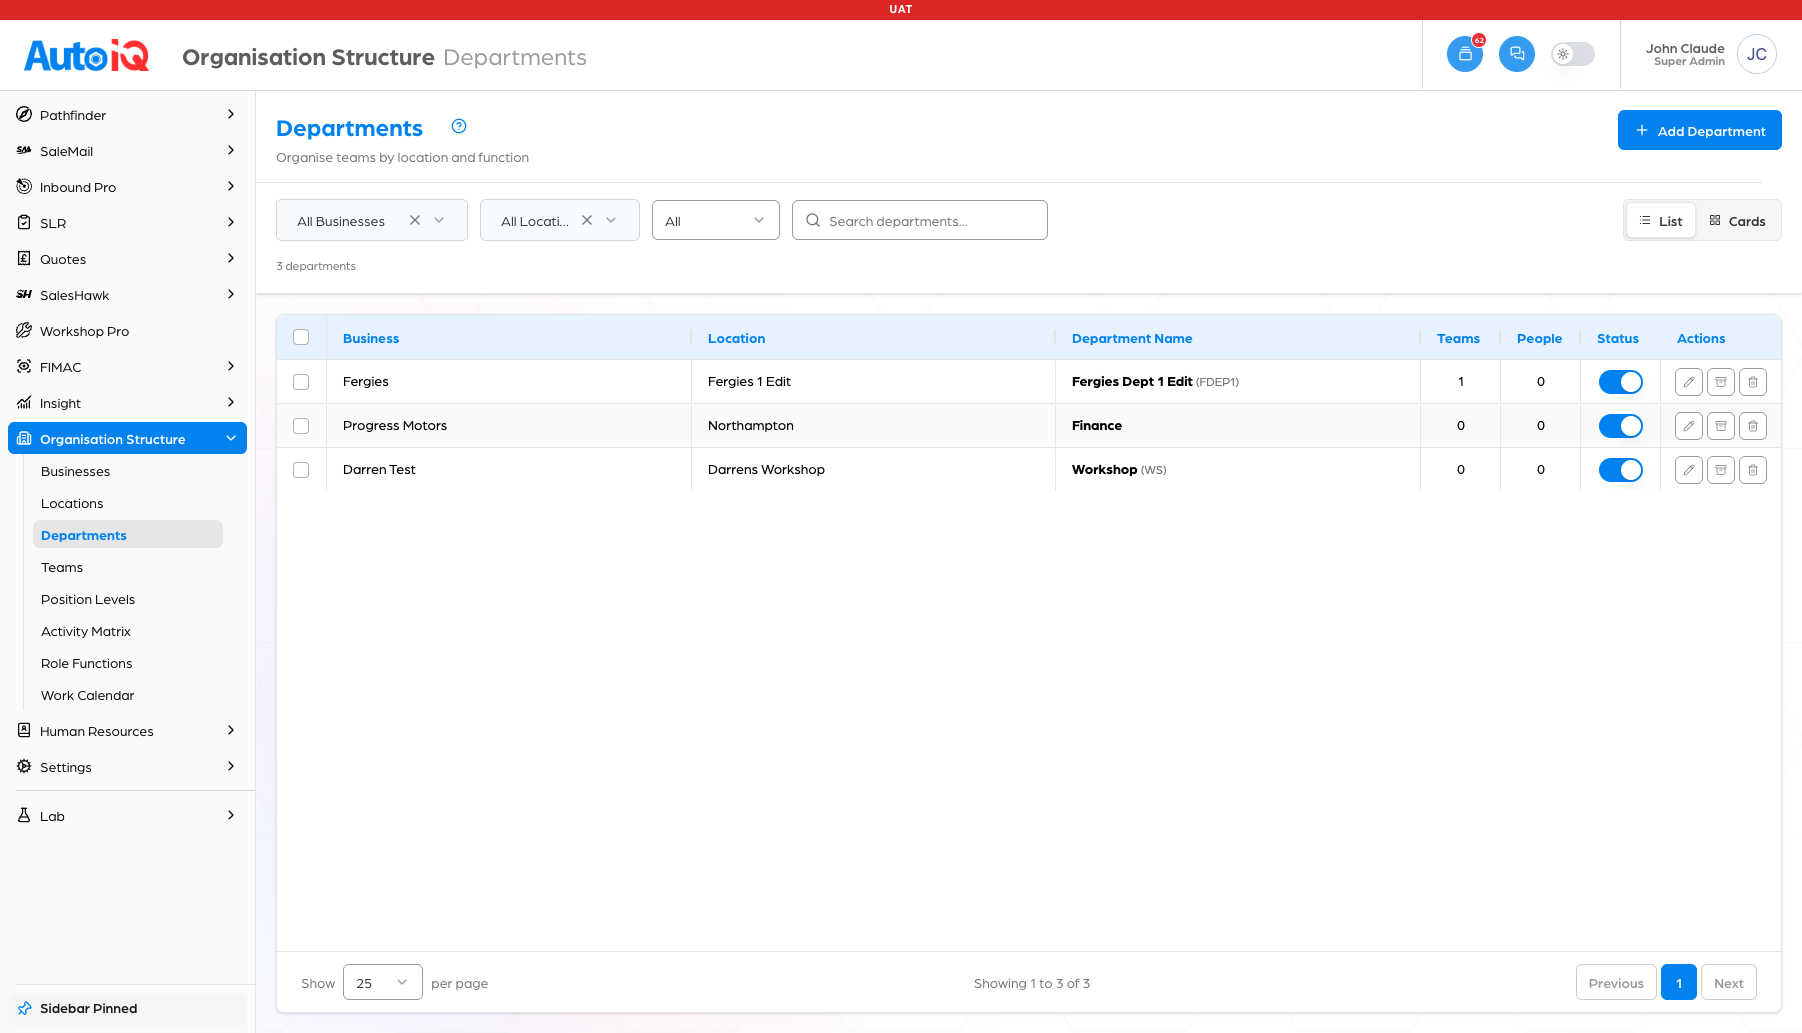
Our standard set is ten departments at every business. All ten of Progress Motors' were created exactly by the steps above; the other two rows in this picture belong to other businesses.
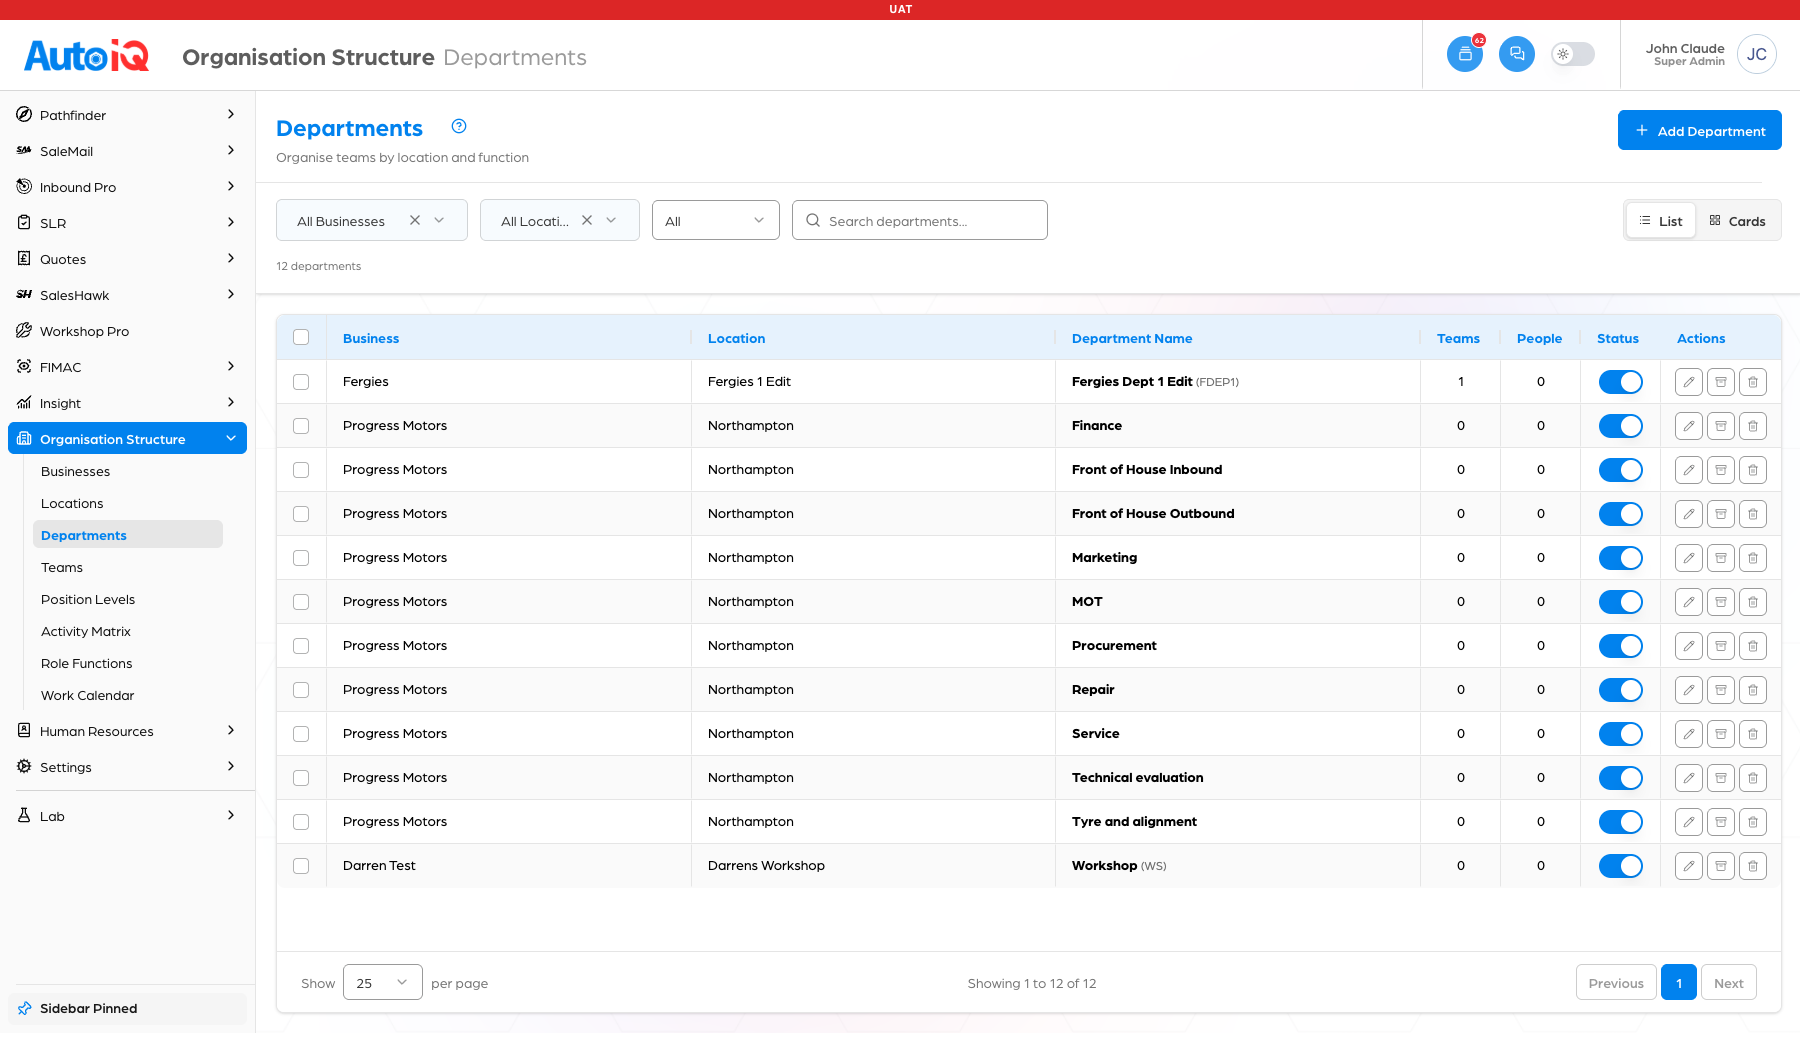
Type part of its name into Search departments. Give it a second; the list narrows to matches and the count moves with it (capital letters don't matter: "fin" finds Finance).
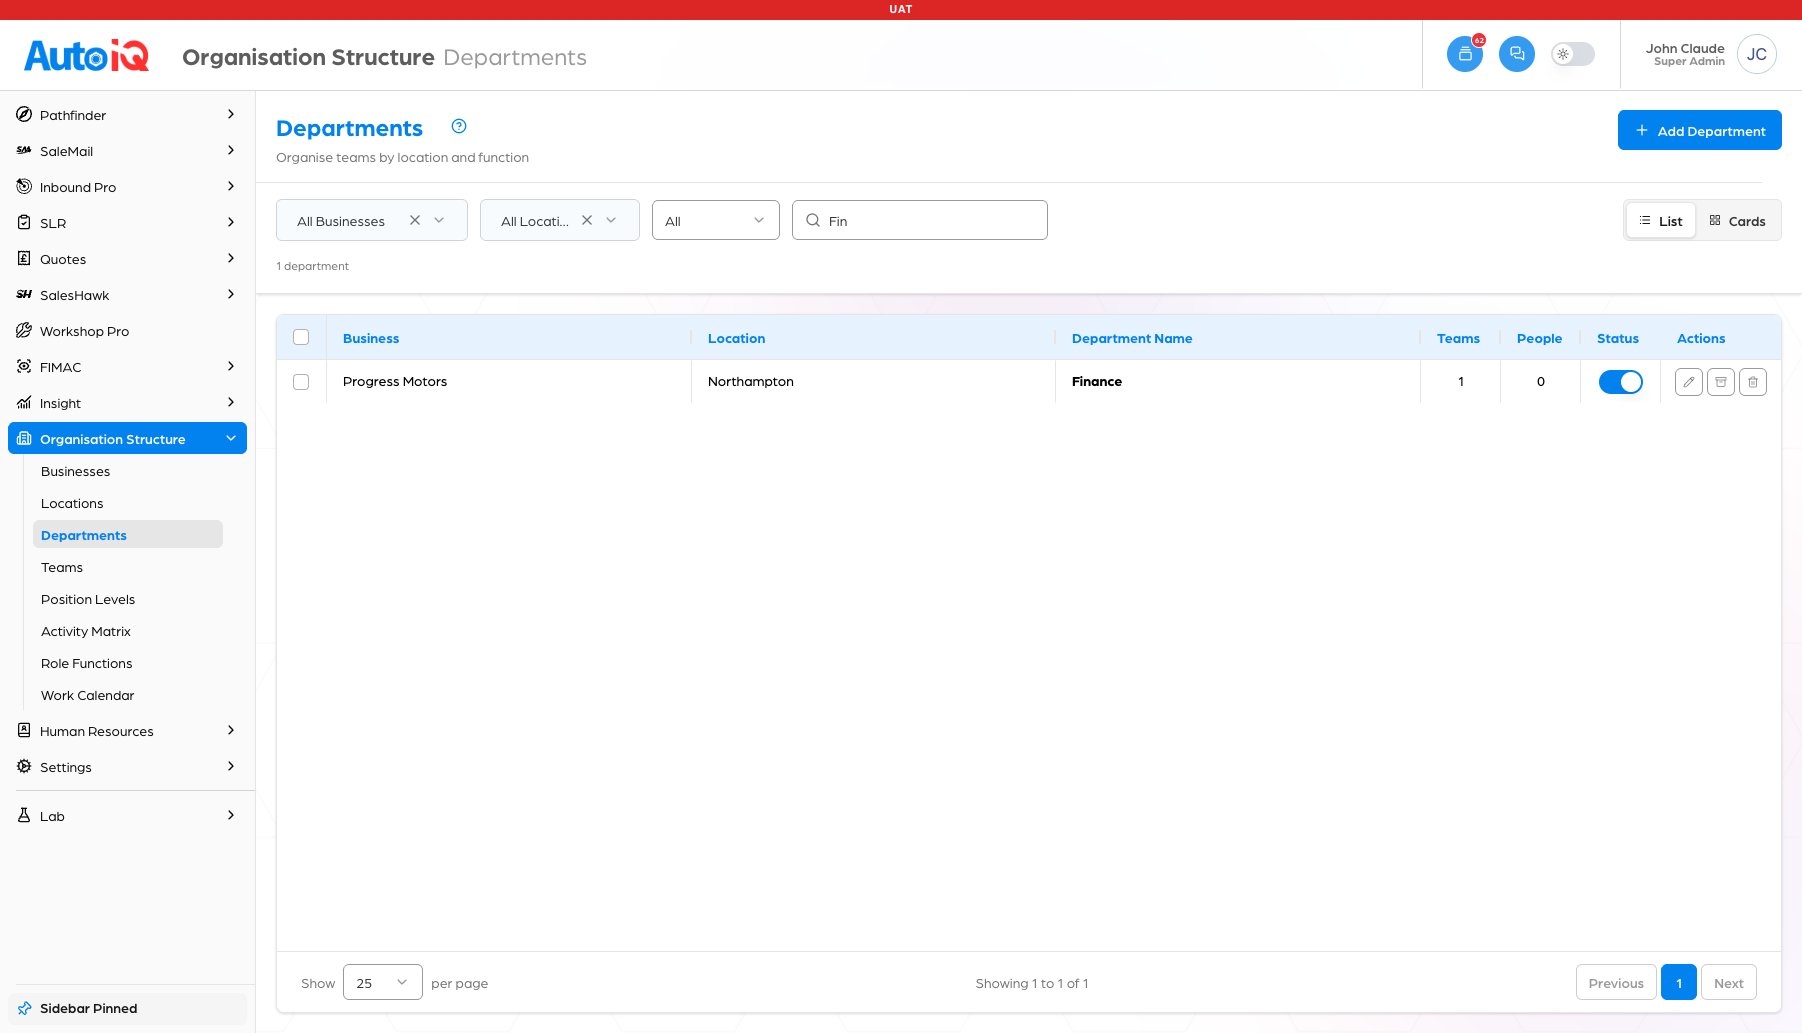
The search reads the department name only. Typing a business or a location name finds nothing, even when every department belongs to it: searching "progress" gives "No departments found" and a count of 0. Use the business and location filters for that, not the search box.
The business and location filters start with everything ticked; to look at just one, untick Select All first, then tick the one you want. The status dropdown (All / Active / Inactive / Archived) works on its own.
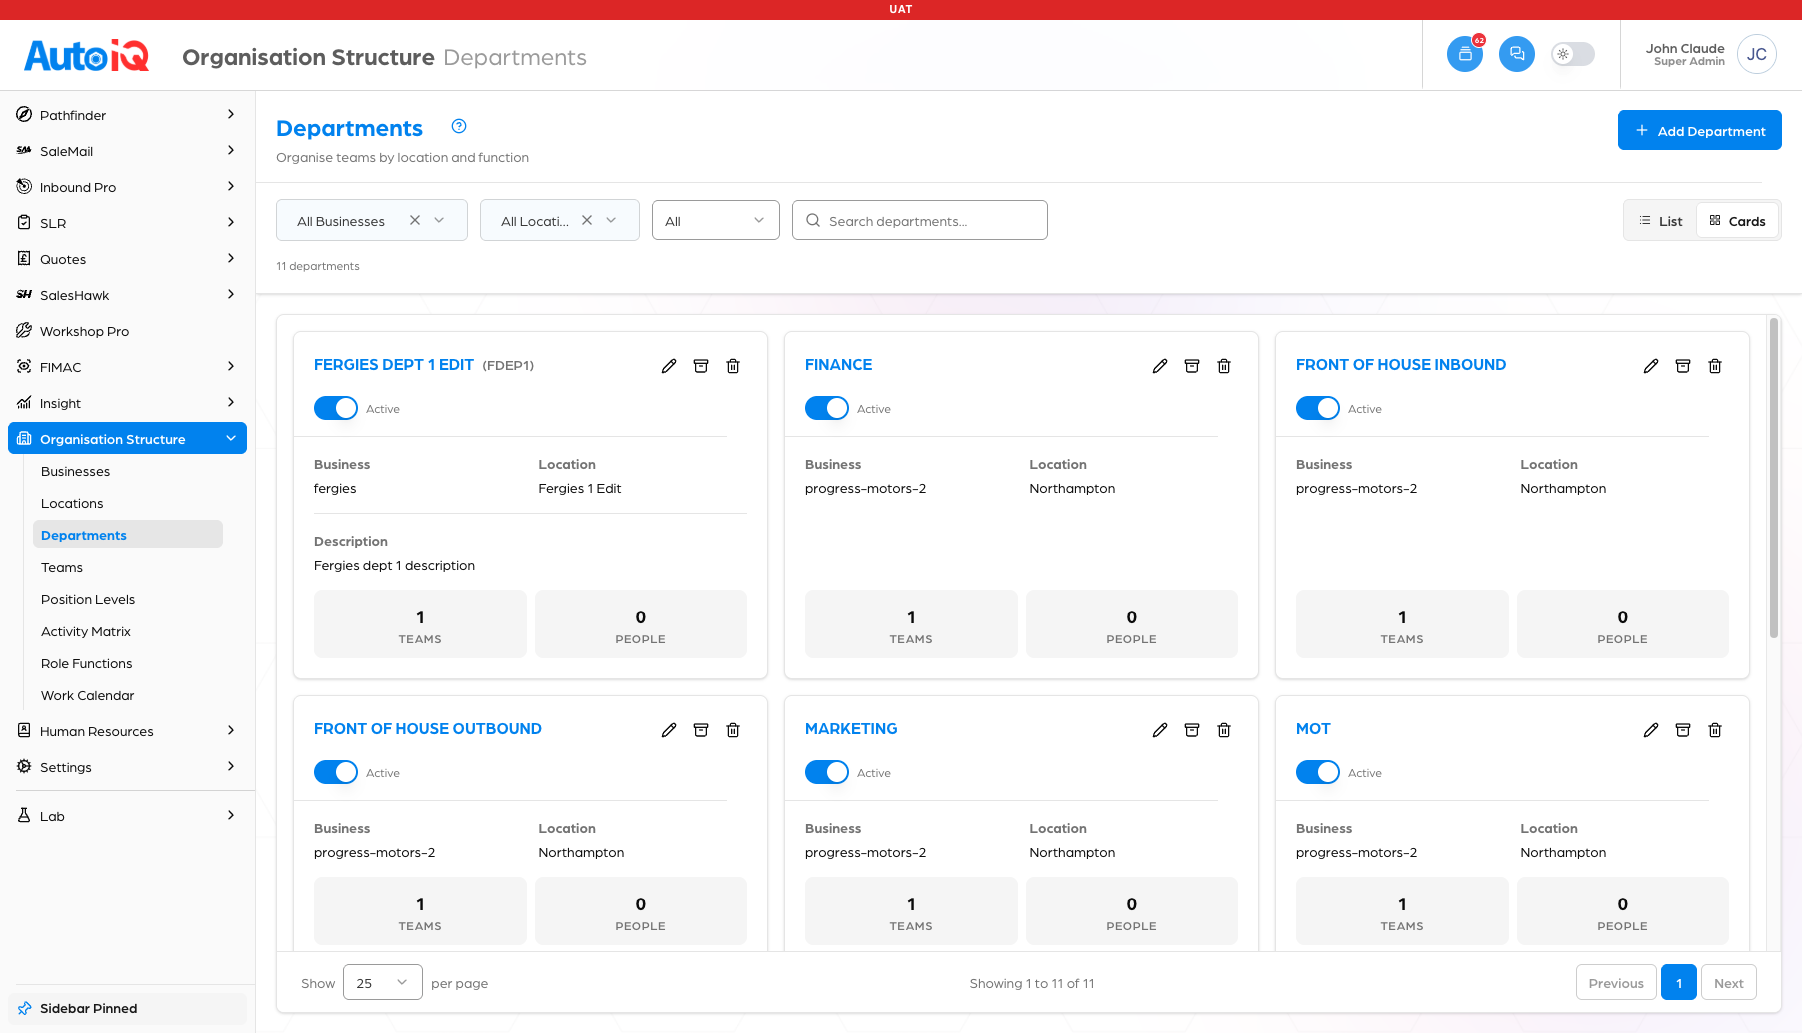
The List and Cards buttons (top right) show the same departments two ways. Cards gives each department a tile with its business, location, its teams and people counts, and its description where one was written.
In the Cards view the business is shown as its internal identifier (for example "progress-motors-2") rather than its name, so it reads oddly next to the List view. The List view shows the proper business name.
Click the pencil icon on the department's row. The same form opens with everything filled in as it was saved. Change what you need (the name, the short code, the description, or the Active switch) and click Save.
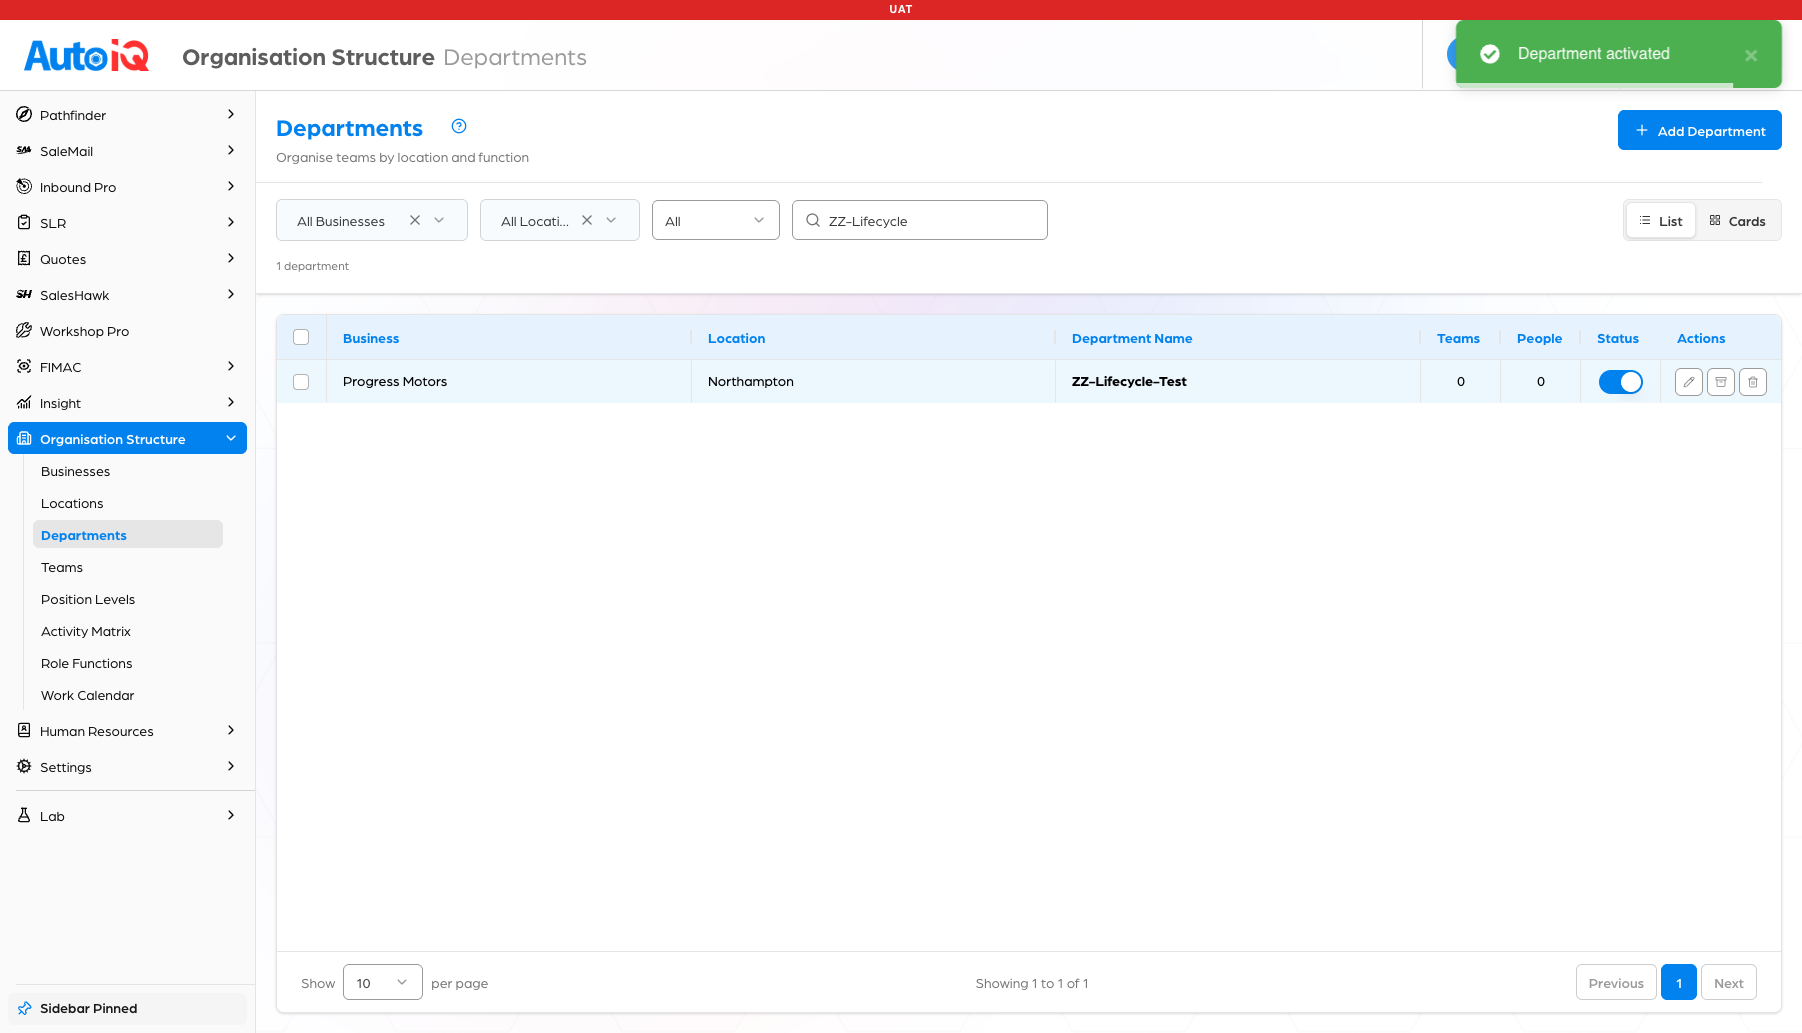
The Status toggle on the row switches a department off and on again. A message confirms each switch: "Department deactivated", "Department activated".
The toggle acts immediately, with no "are you sure?", in both directions, so treat it with respect.
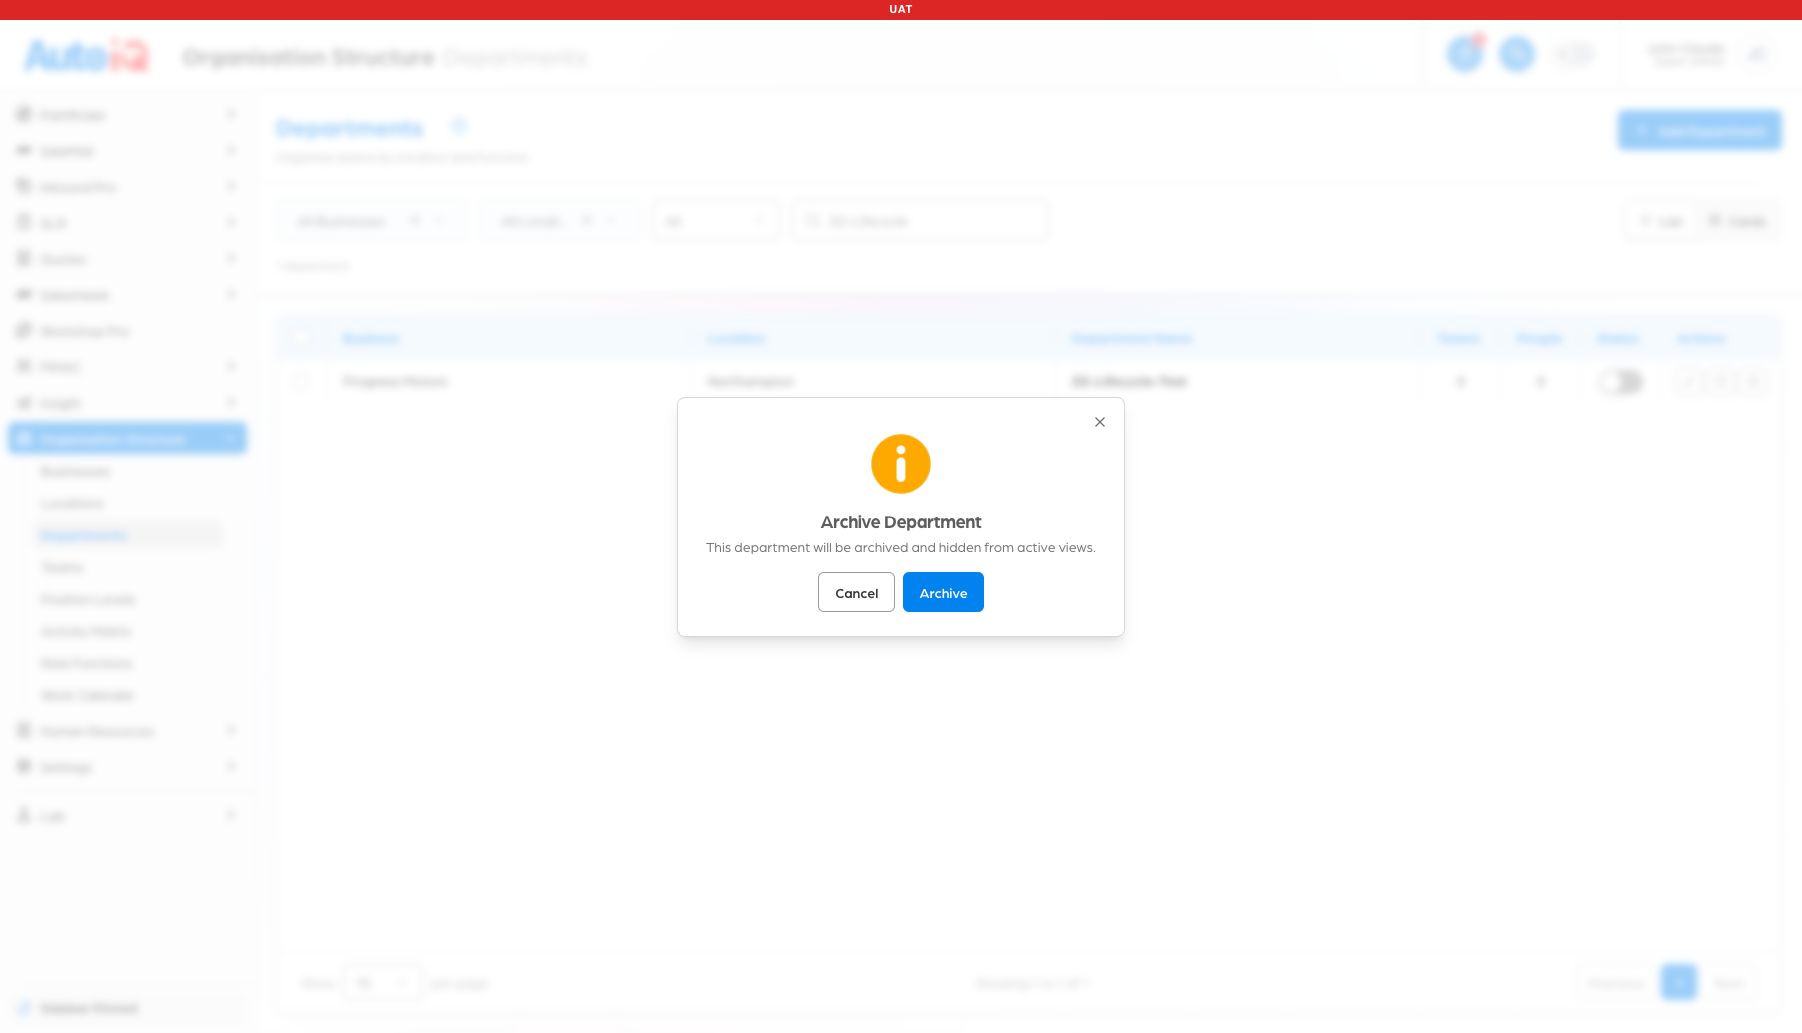
Click the archive icon (the box) on the row. You'll be asked to confirm, and told the department "will be archived and hidden from active views".
The department is marked archived, not destroyed: its row shows an Archived badge in place of the toggle, and its actions reduce to restore and delete.
Note what actually happens on screen: the list shows every status by default, so the archived department stays in front of you rather than disappearing as the message promises. Pick Archived in the status dropdown to see archived departments on their own, or Active to see only the live ones.
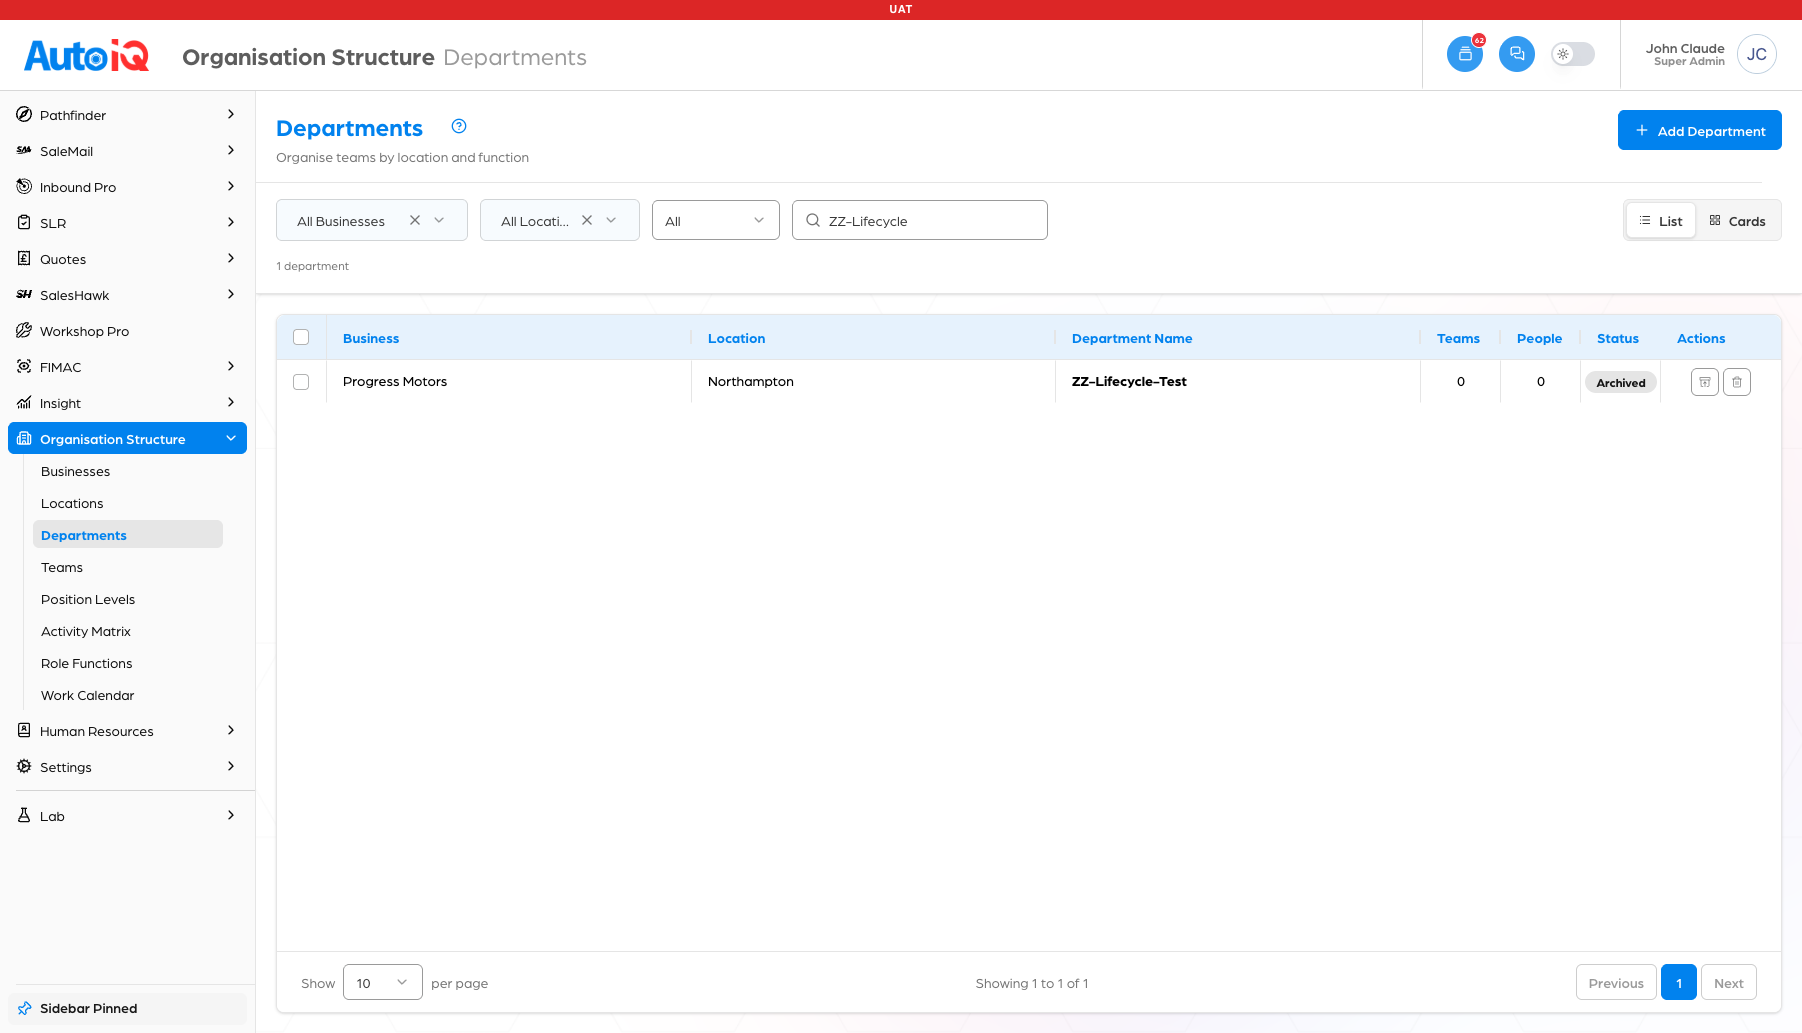
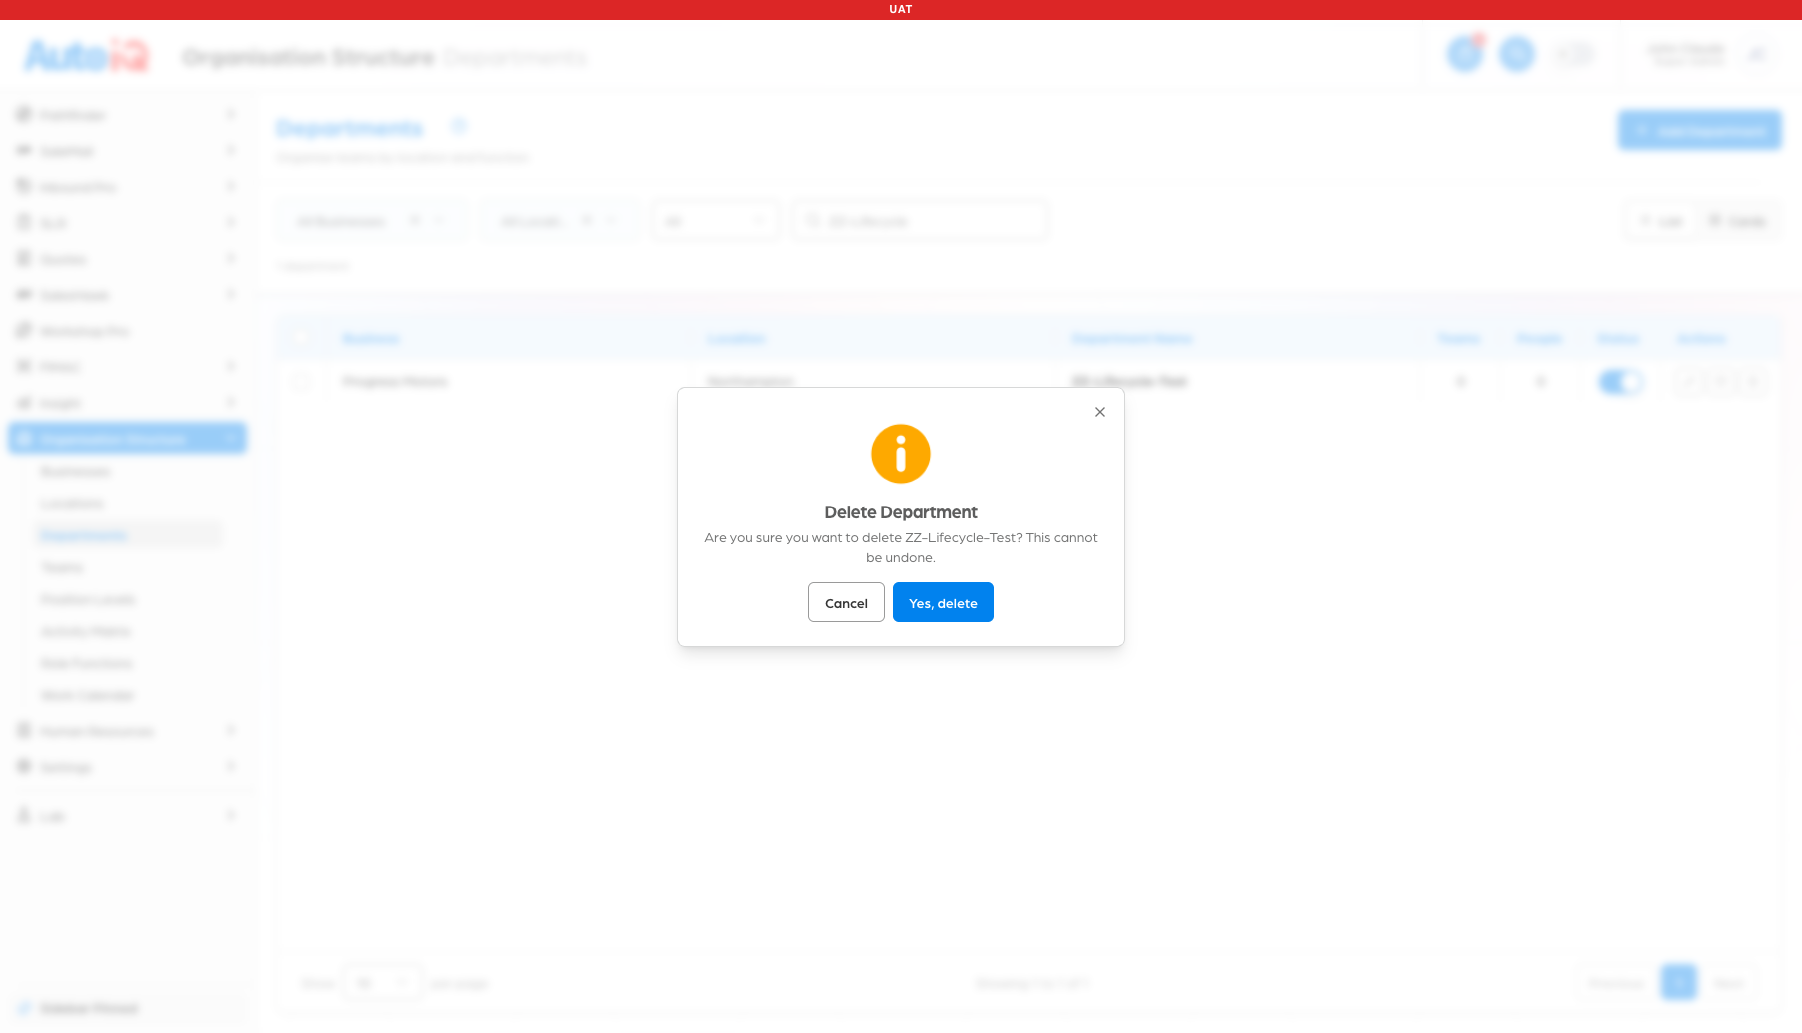
Click the bin icon on the row. You'll be asked by name: "Are you sure you want to delete [the department]? This cannot be undone." Confirm with Yes, delete and the department is removed and the count steps down.
Delete is permanent, and the software means it. If you might want the department back, archive it instead.