The user guide · from the walkthrough of 6 August 2026 · prefer clicking? Use the step-by-step player
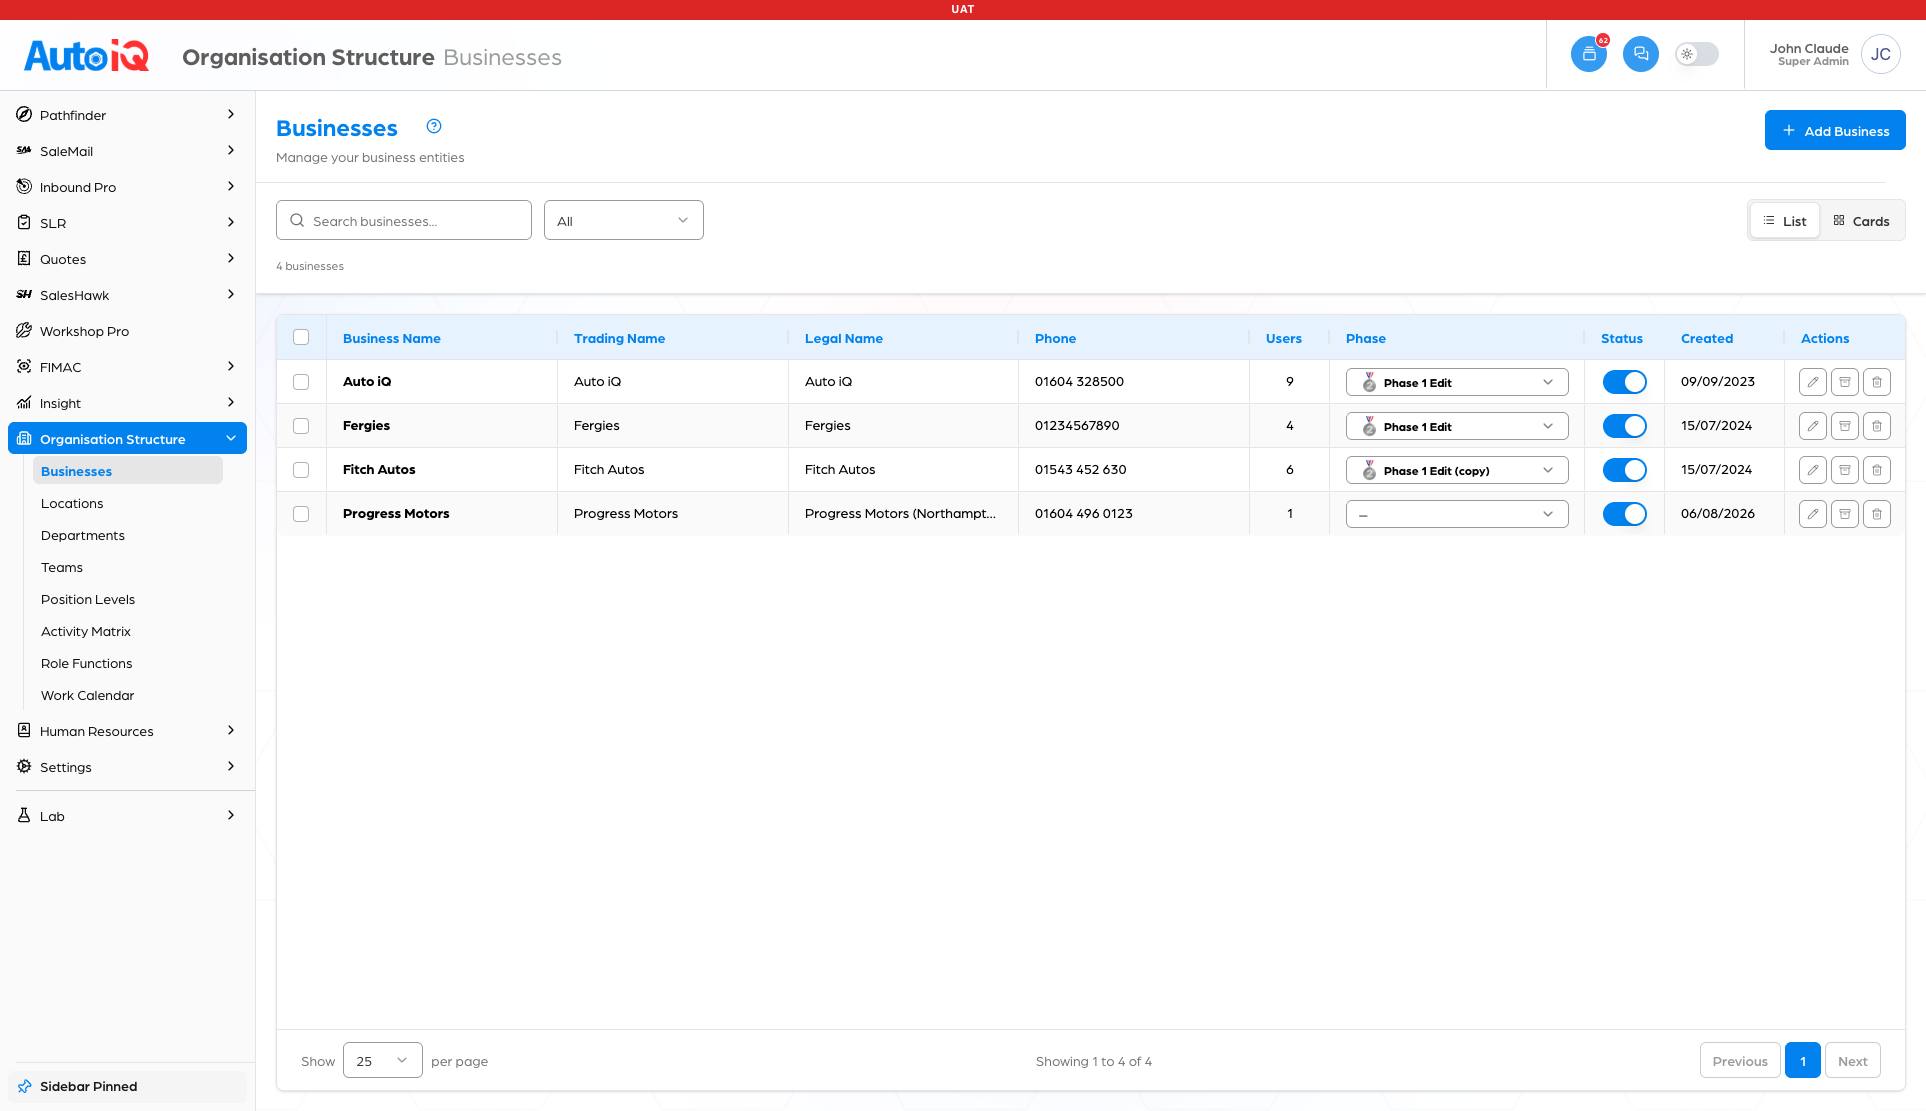
What this screen is for: the businesses you run. Every location, department, team and person belongs to a business, so this is the very first thing to set up. It is an administrator's area: most people never need it.
Where it is: Organisation Structure → Businesses (first in the list).
In the left menu, click Organisation Structure, then Businesses. You'll see each business with its trading and legal names, phone, how many users it has, its phase, and whether it is active.
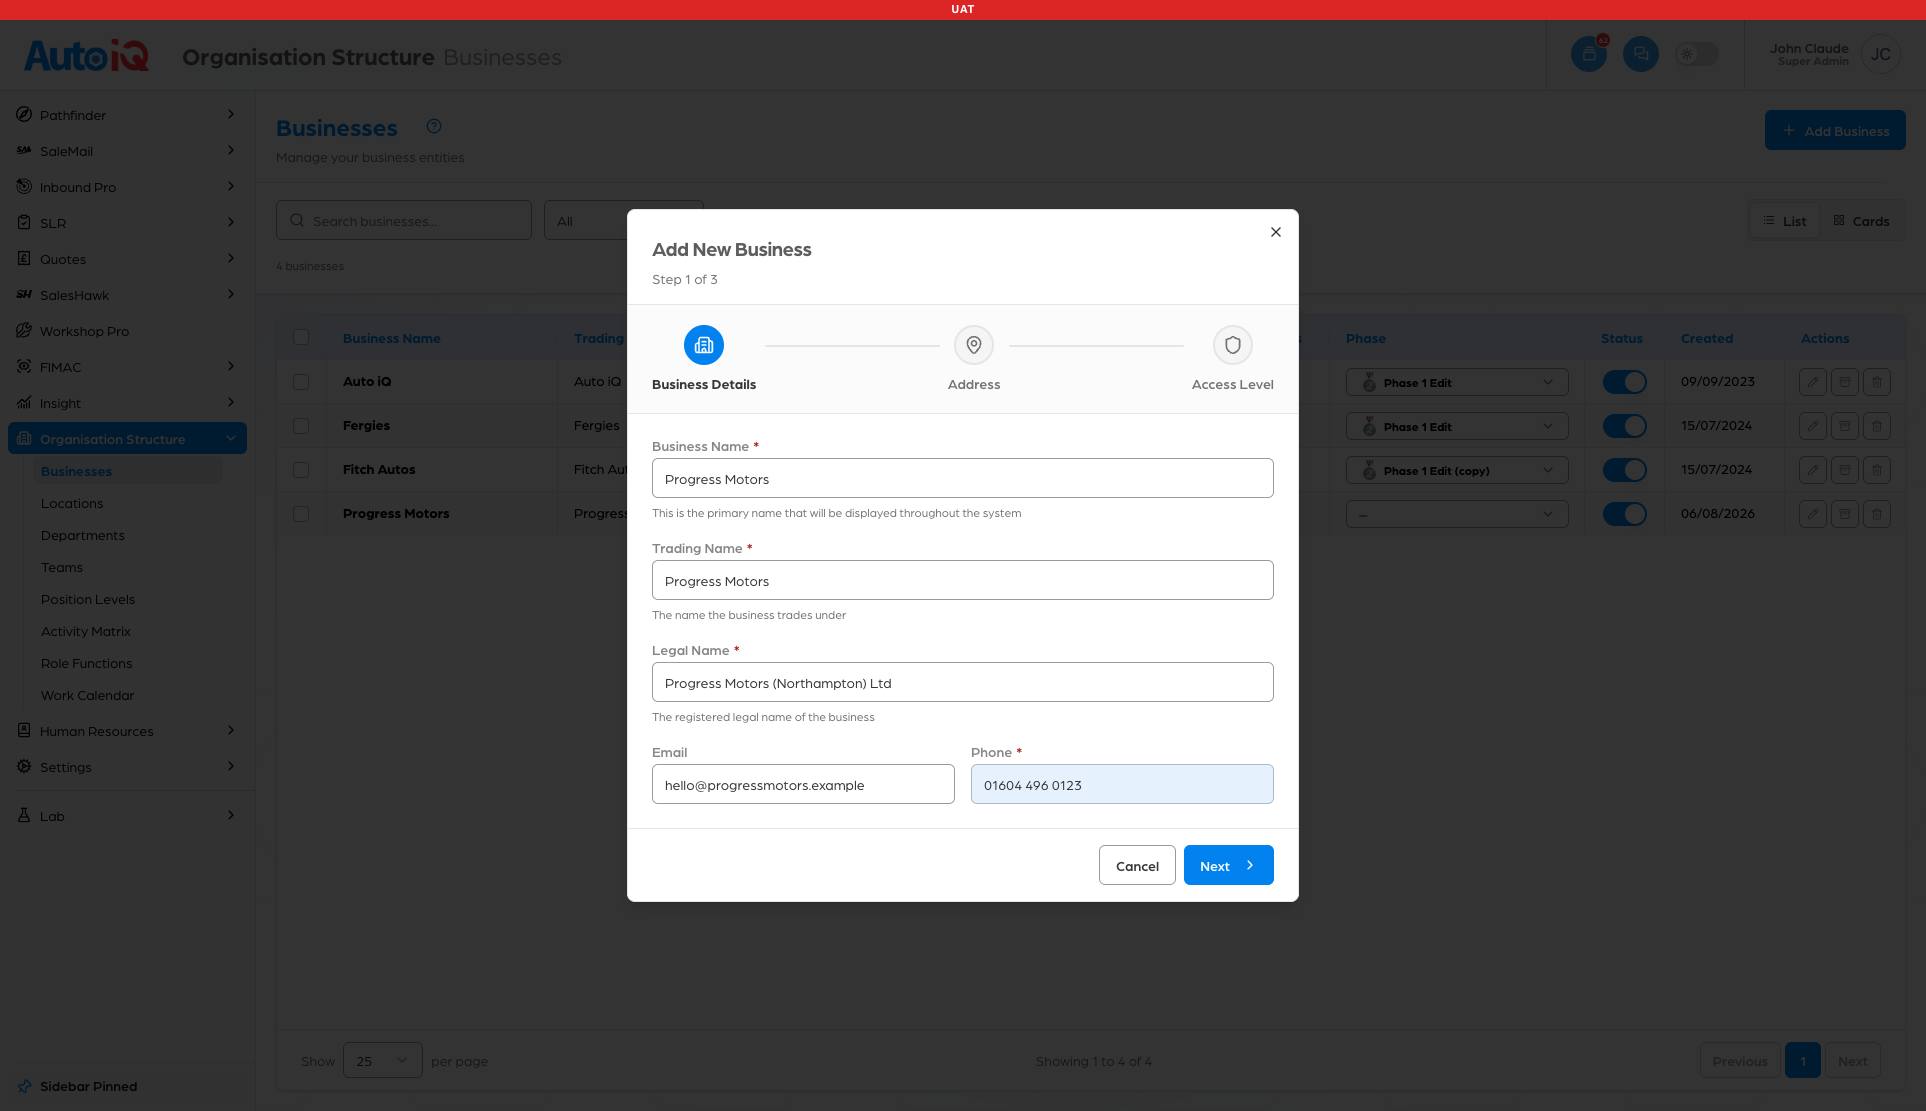
Click Add Business. A three-step setup opens:
The Next and Complete Setup buttons stay greyed out until each step is complete, so you cannot half-create a business.
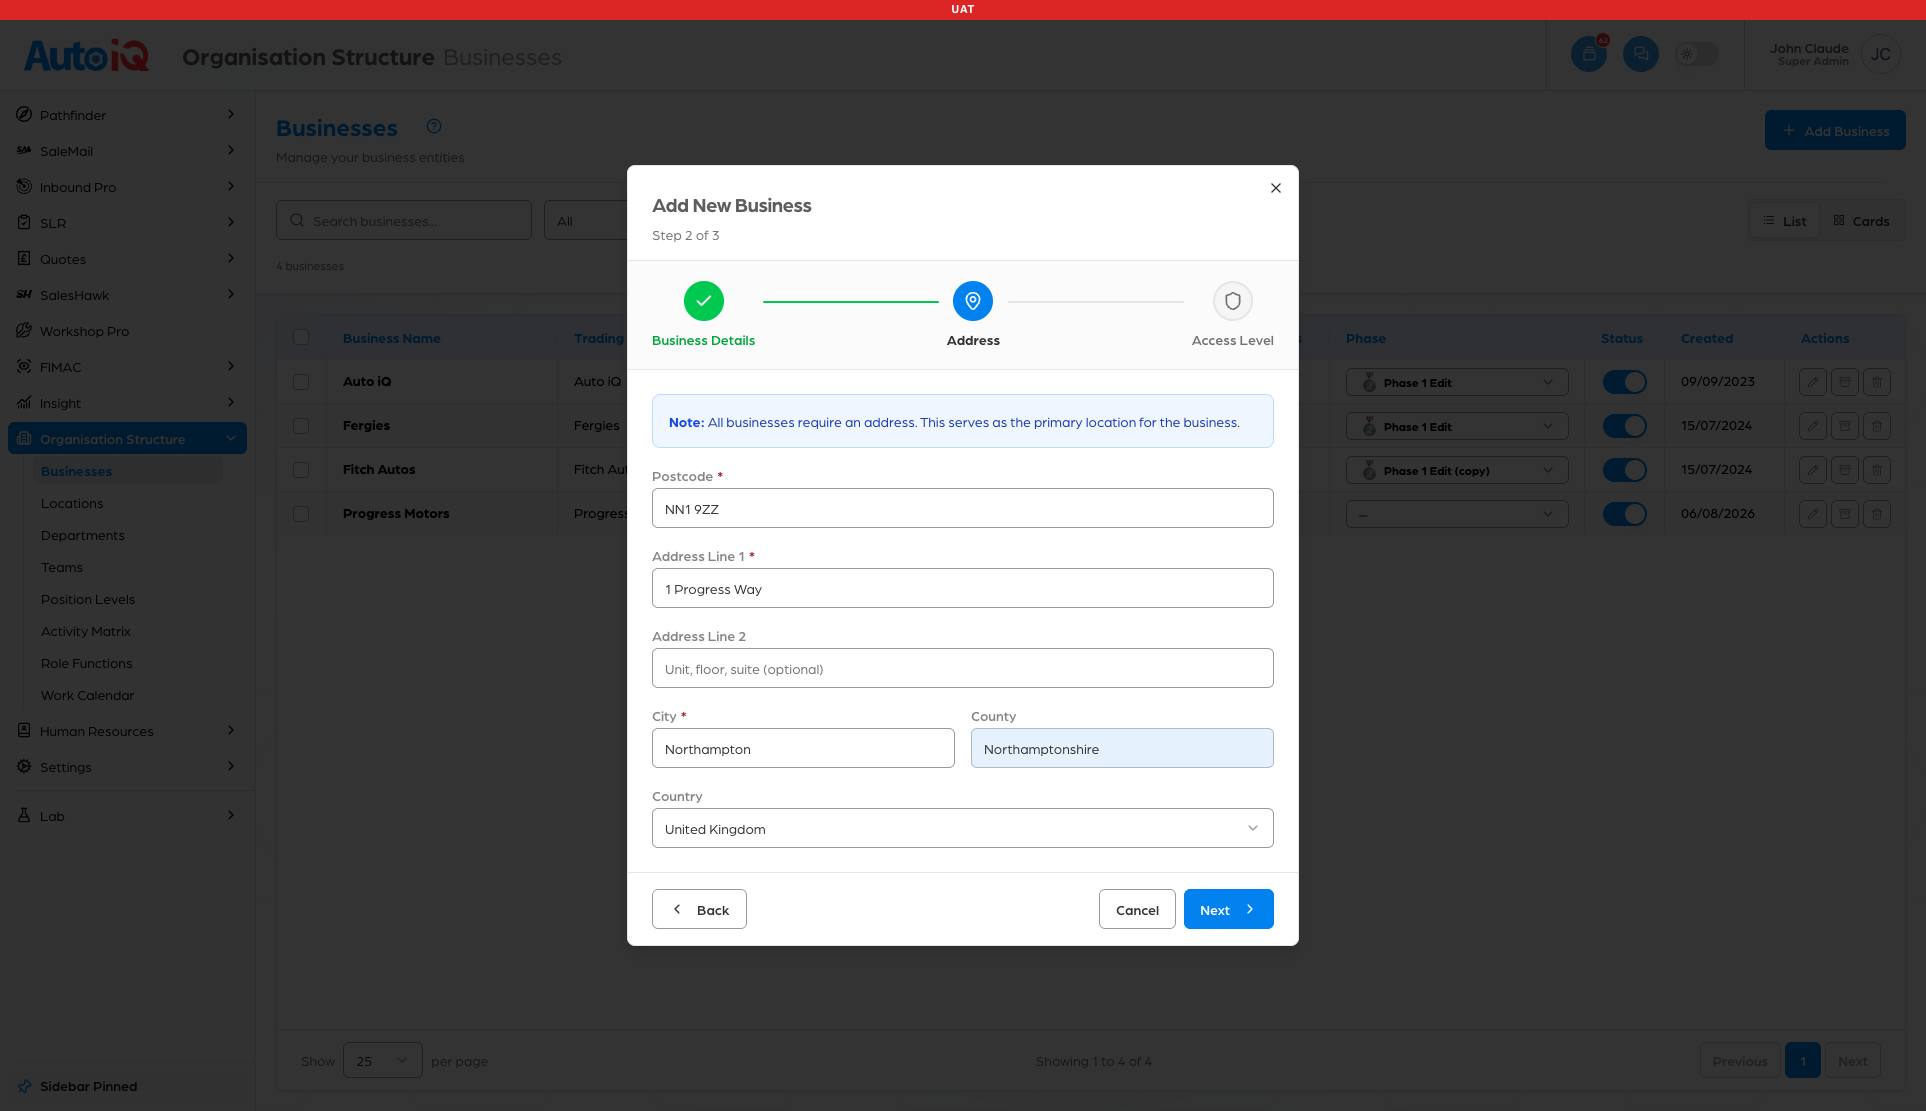
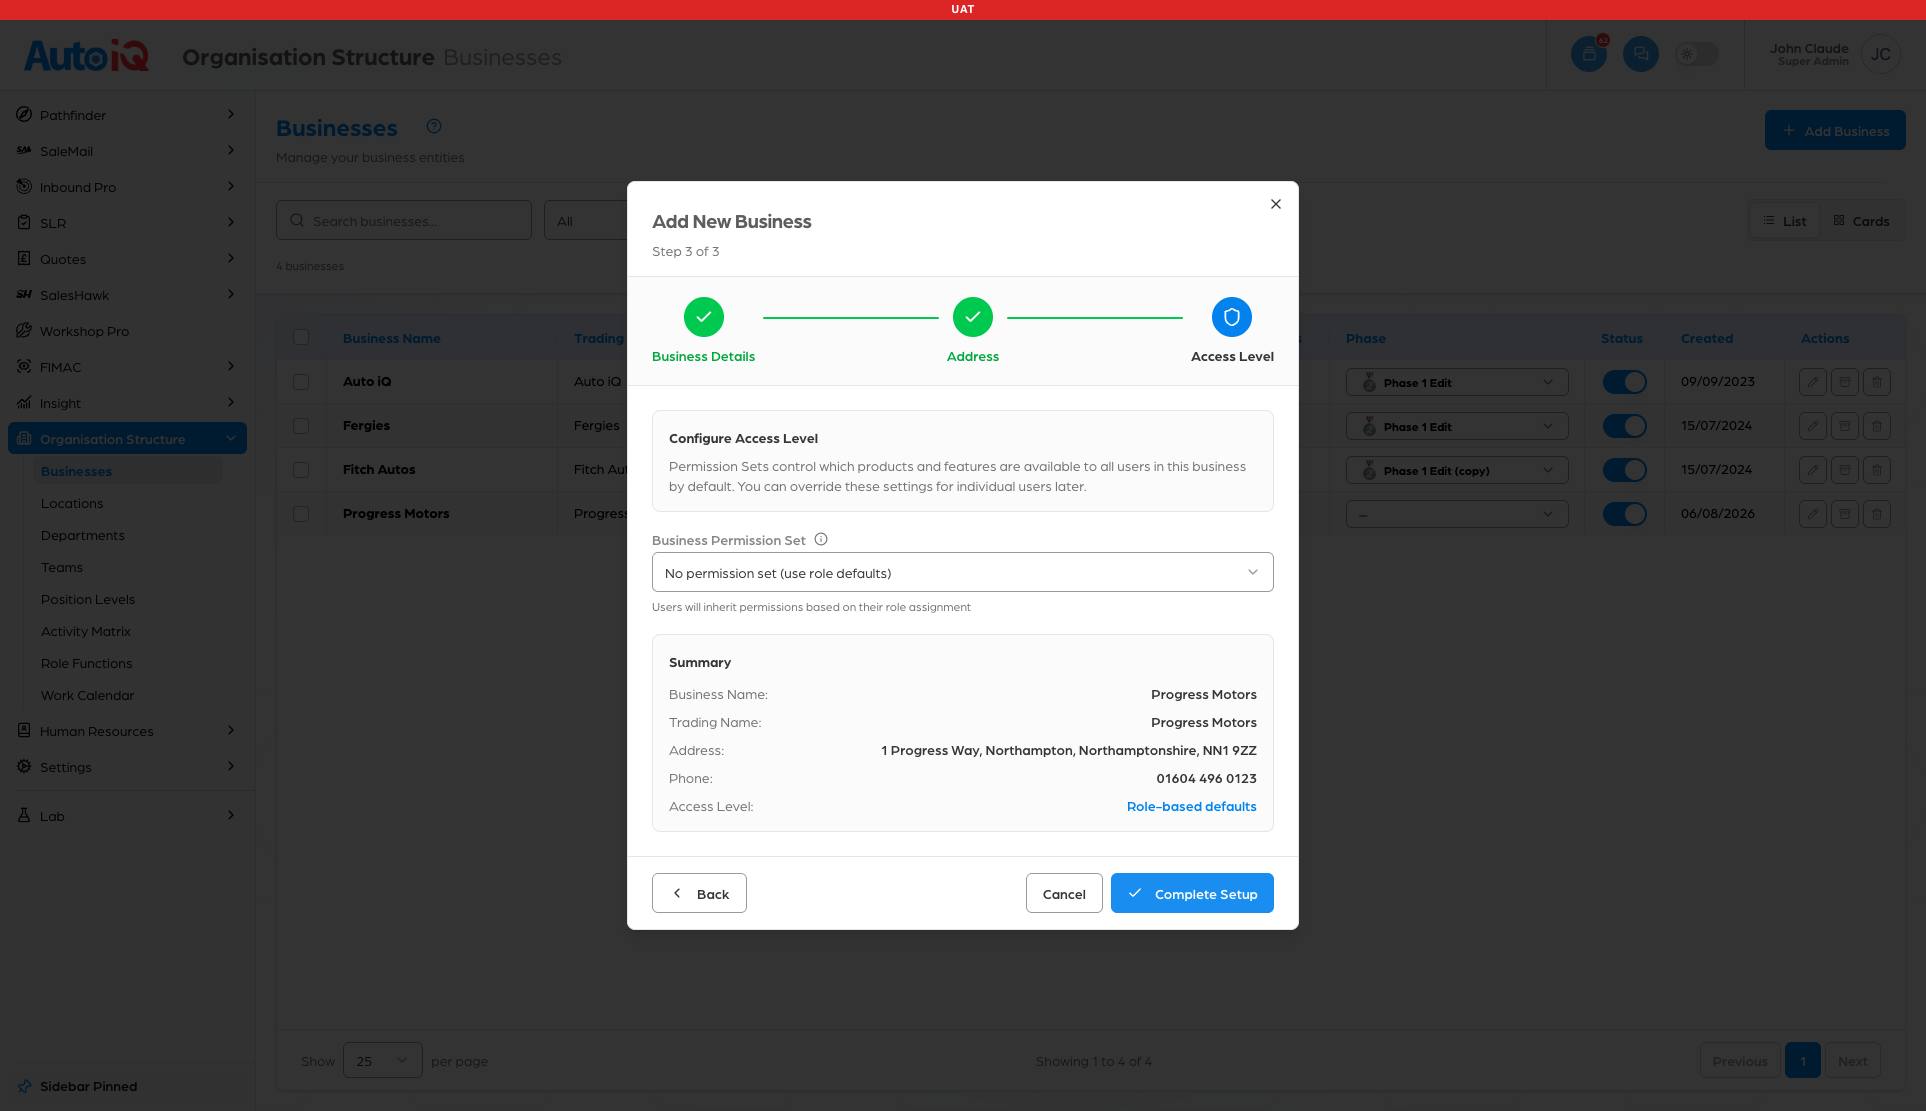
Click Complete Setup. A green "Business created" message confirms it, and the new business appears in the list straight away.
Type part of a name into Search businesses; the list narrows to matches.
Click the pencil icon on its row. The business record opens: status, permission set, names, contact details, tagline, bio and logos. Change what you need and click Update.
The Status toggle on the row deactivates a business and brings it back.
The toggle acts immediately, with no "are you sure?", so treat it with respect.
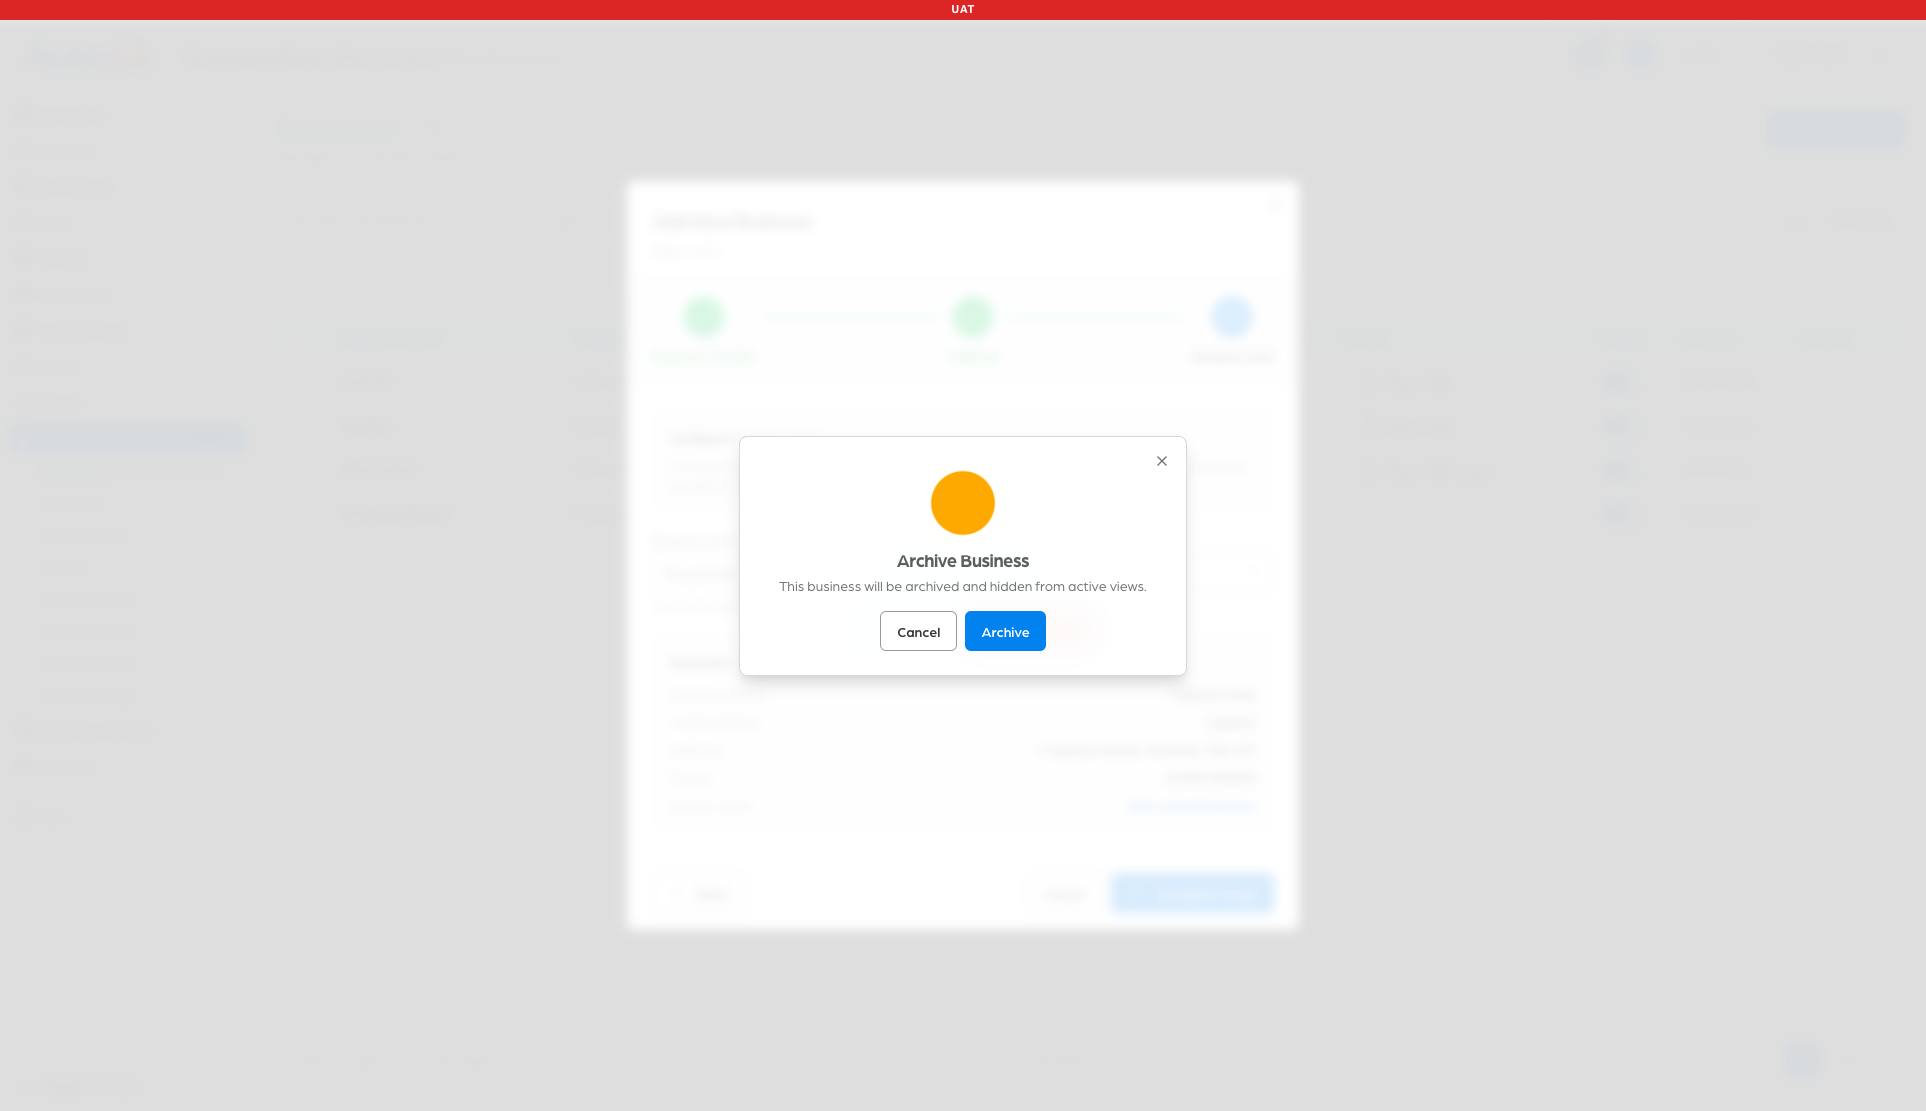
Click the archive icon. You will be asked to confirm. The business is marked archived, not destroyed. Note what actually happens on screen: the list shows every status by default, so the archived business stays in front of you rather than disappearing.
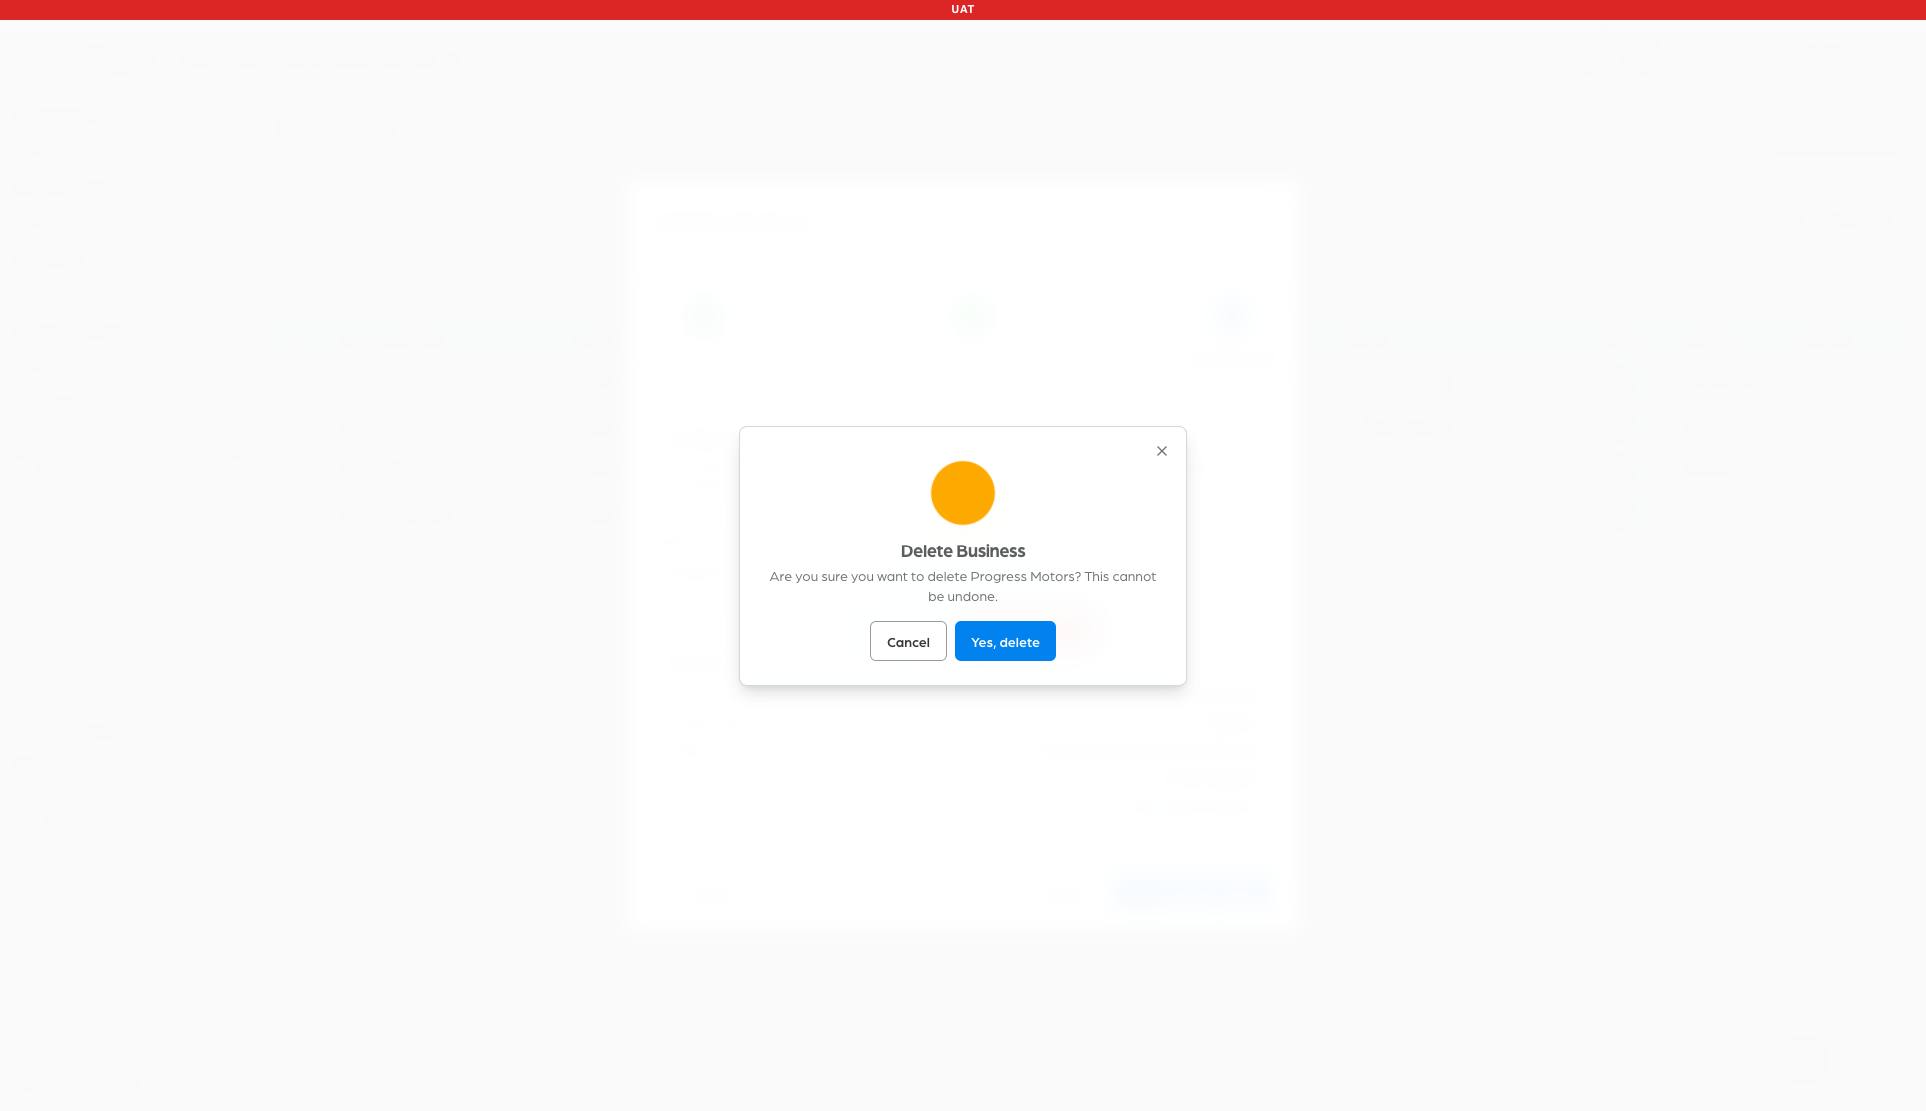
Click the bin icon. You'll be asked to confirm by name, with a warning that it cannot be undone.
A business takes its whole world with it: locations, people and records. Only delete when you are certain.