The user guide, Section 1 · from the walkthrough of 6 August 2026 · the markdown record is "2 - User documentation - Organisational Structure and HR.md"
What this screen is for: the physical places your business works from (head office, workshops, branches). Departments, teams and people all hang off a location, so this is one of the first things to set up.
Where it is: Organisation Structure → Locations.
In the left menu, click Organisation Structure, then Locations in the list that opens beneath it. Both are outlined in red below.
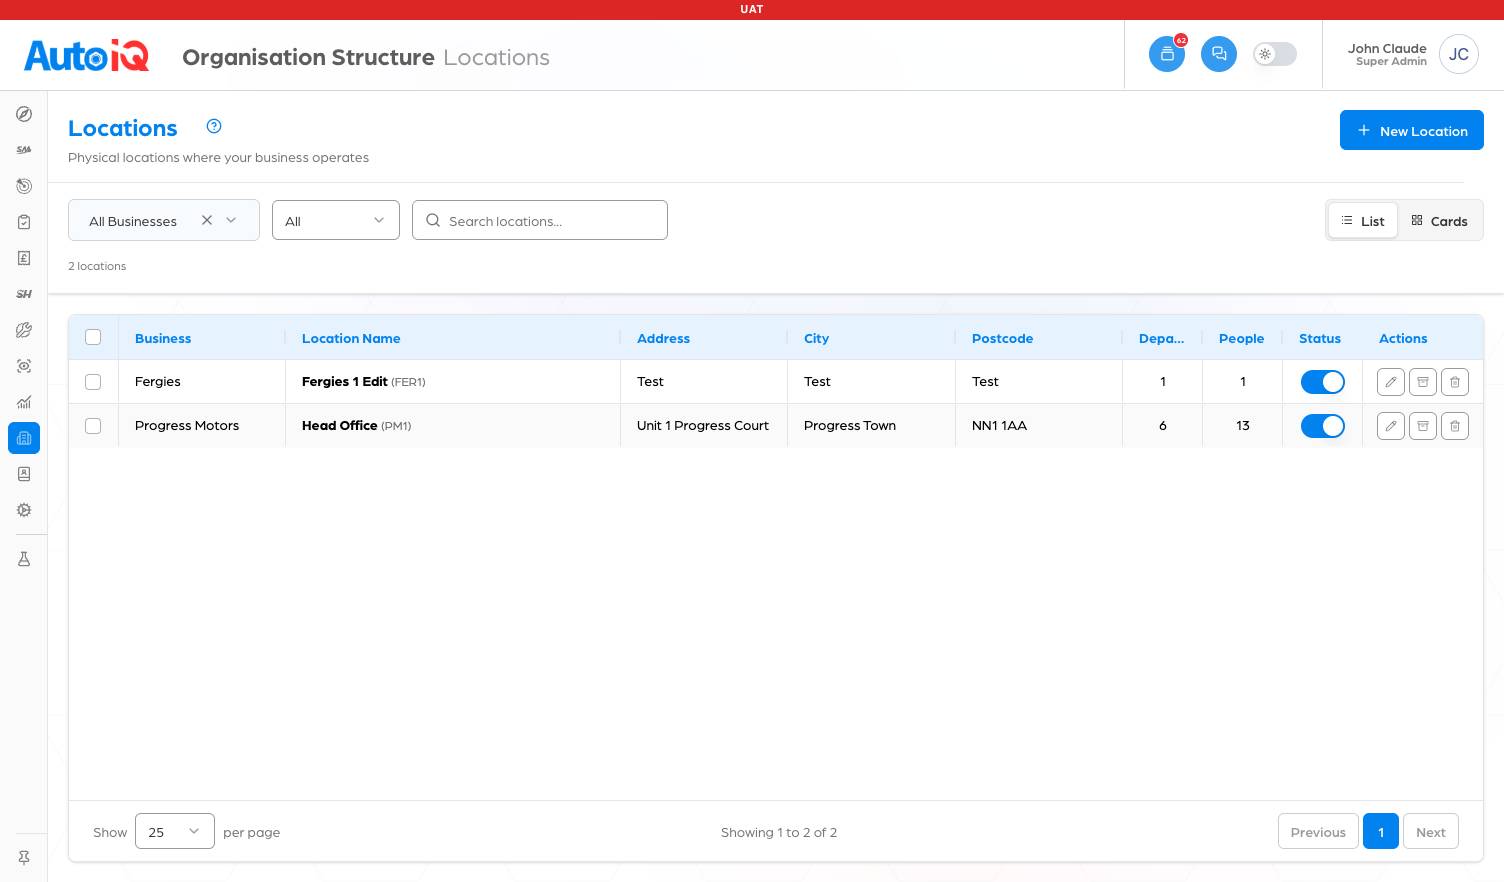
If the left menu shows only small icons, move your mouse over it and it expands; Pin sidebar (bottom of the menu) keeps it open.
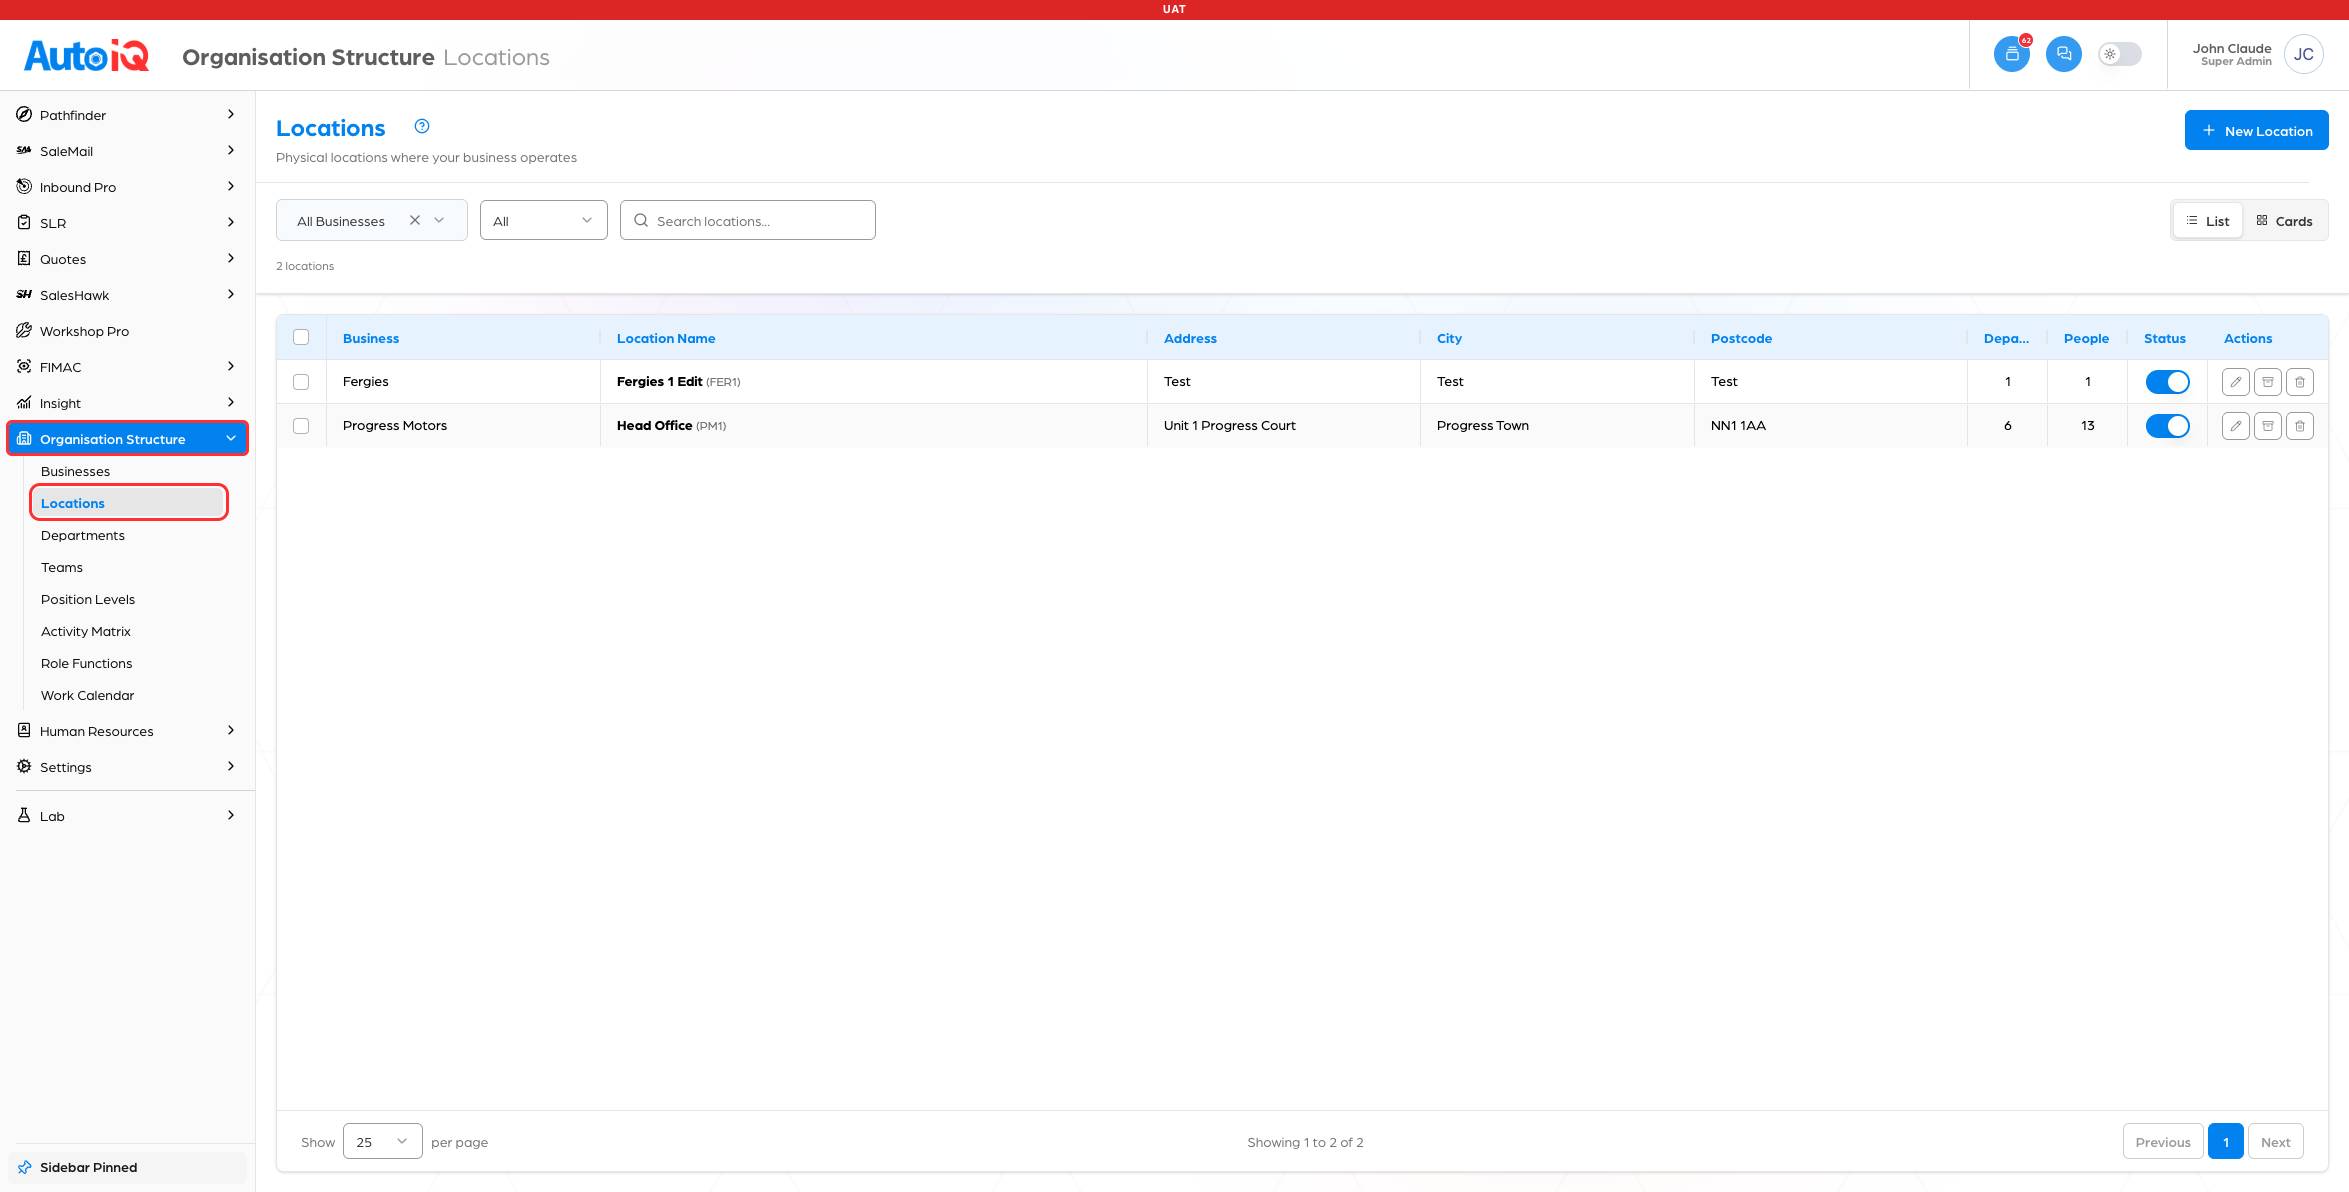
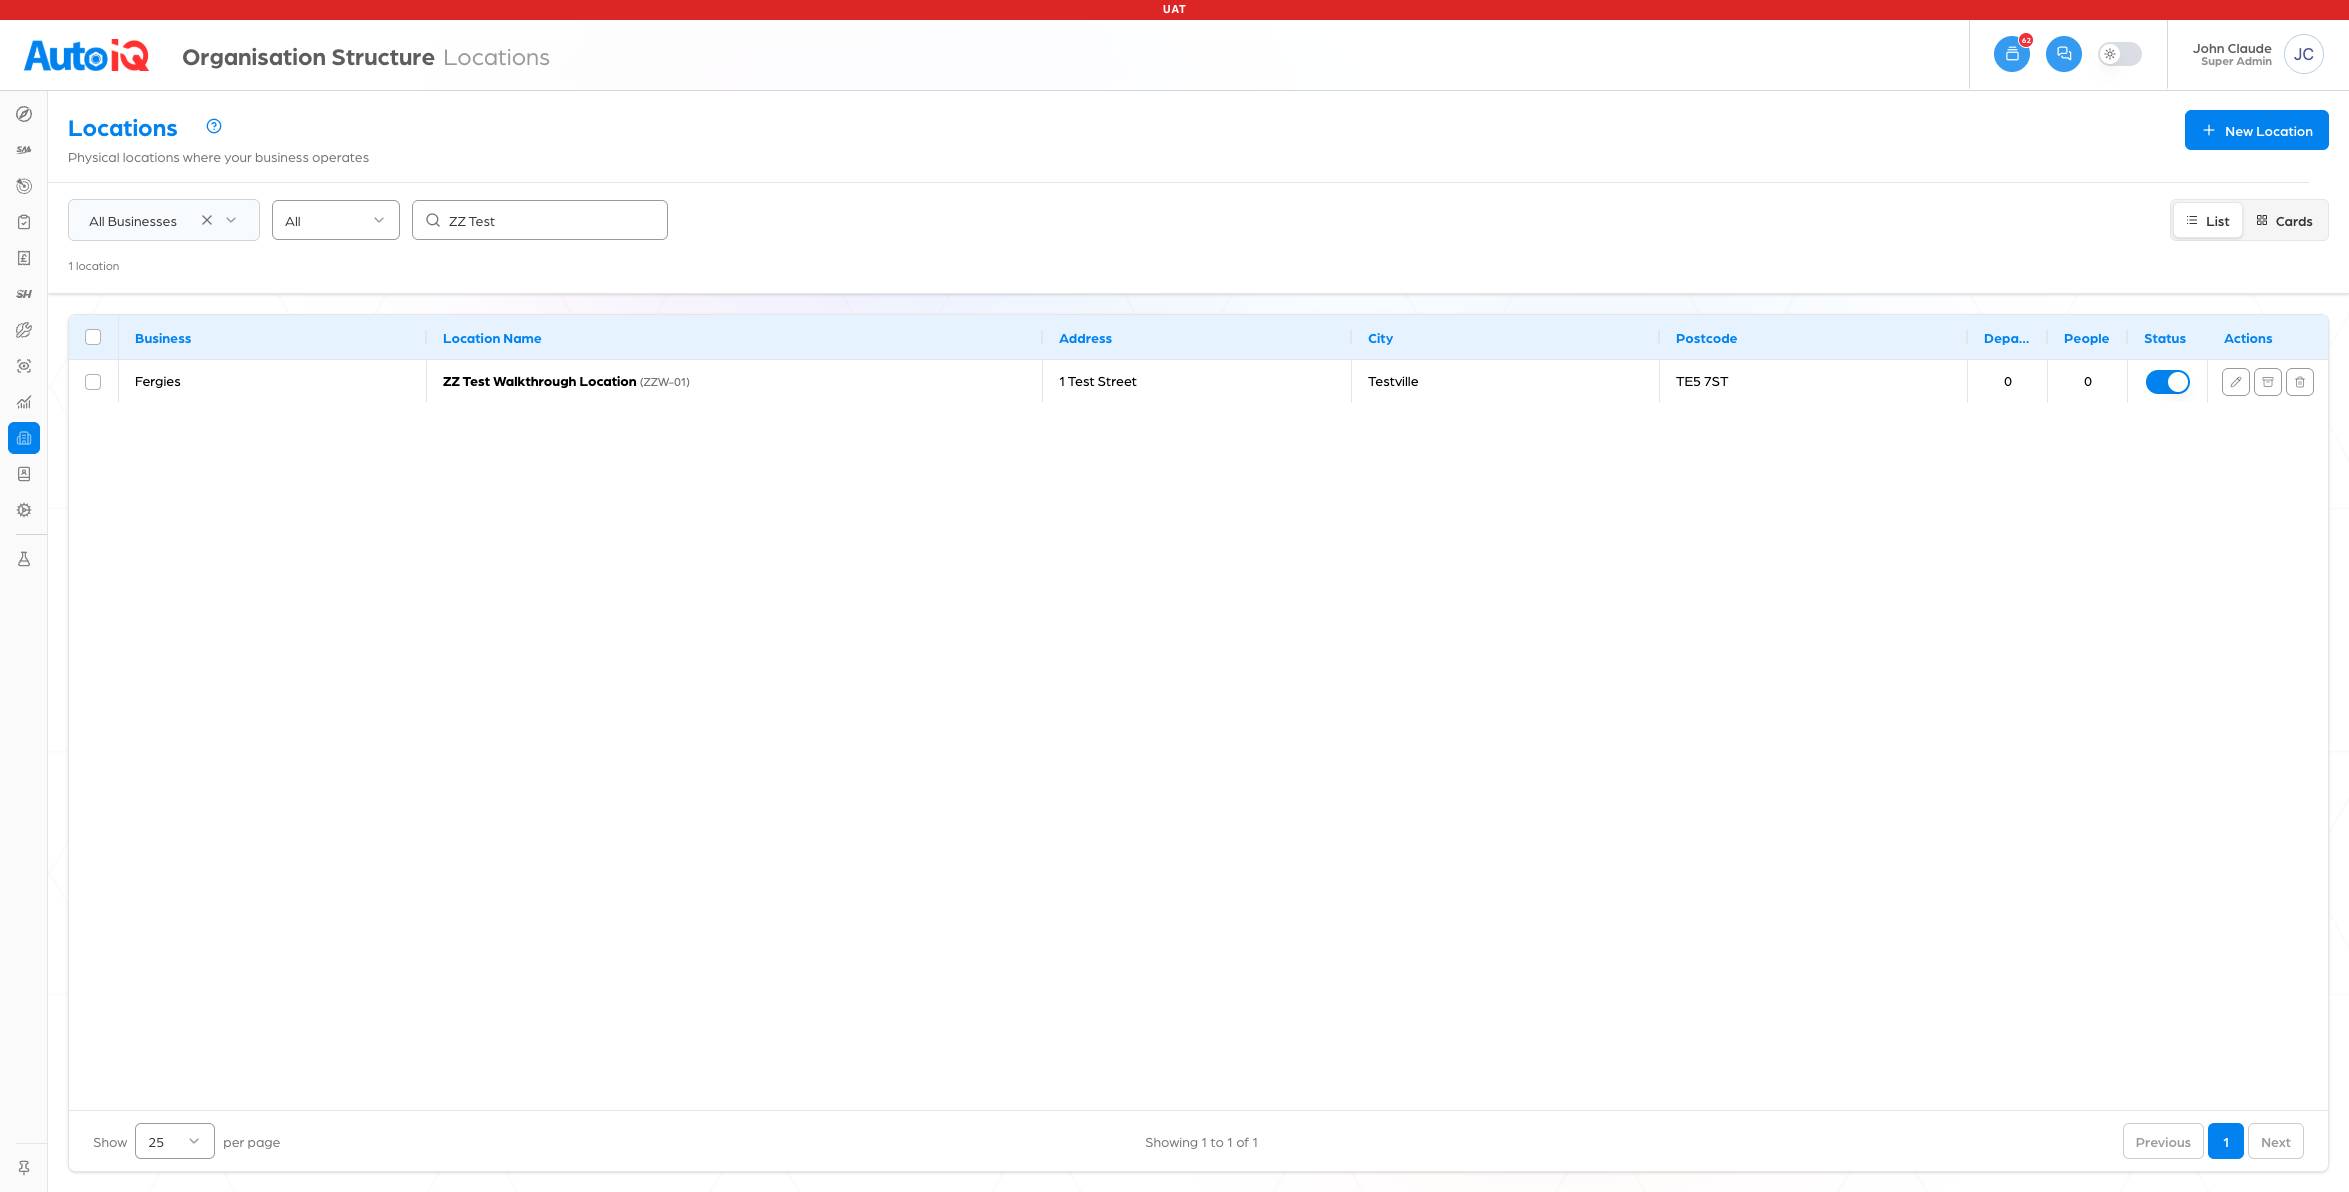
You'll see your locations as a list: business, location name, address, and how many departments and people each one holds. The count under the filters tells you how many you're looking at.
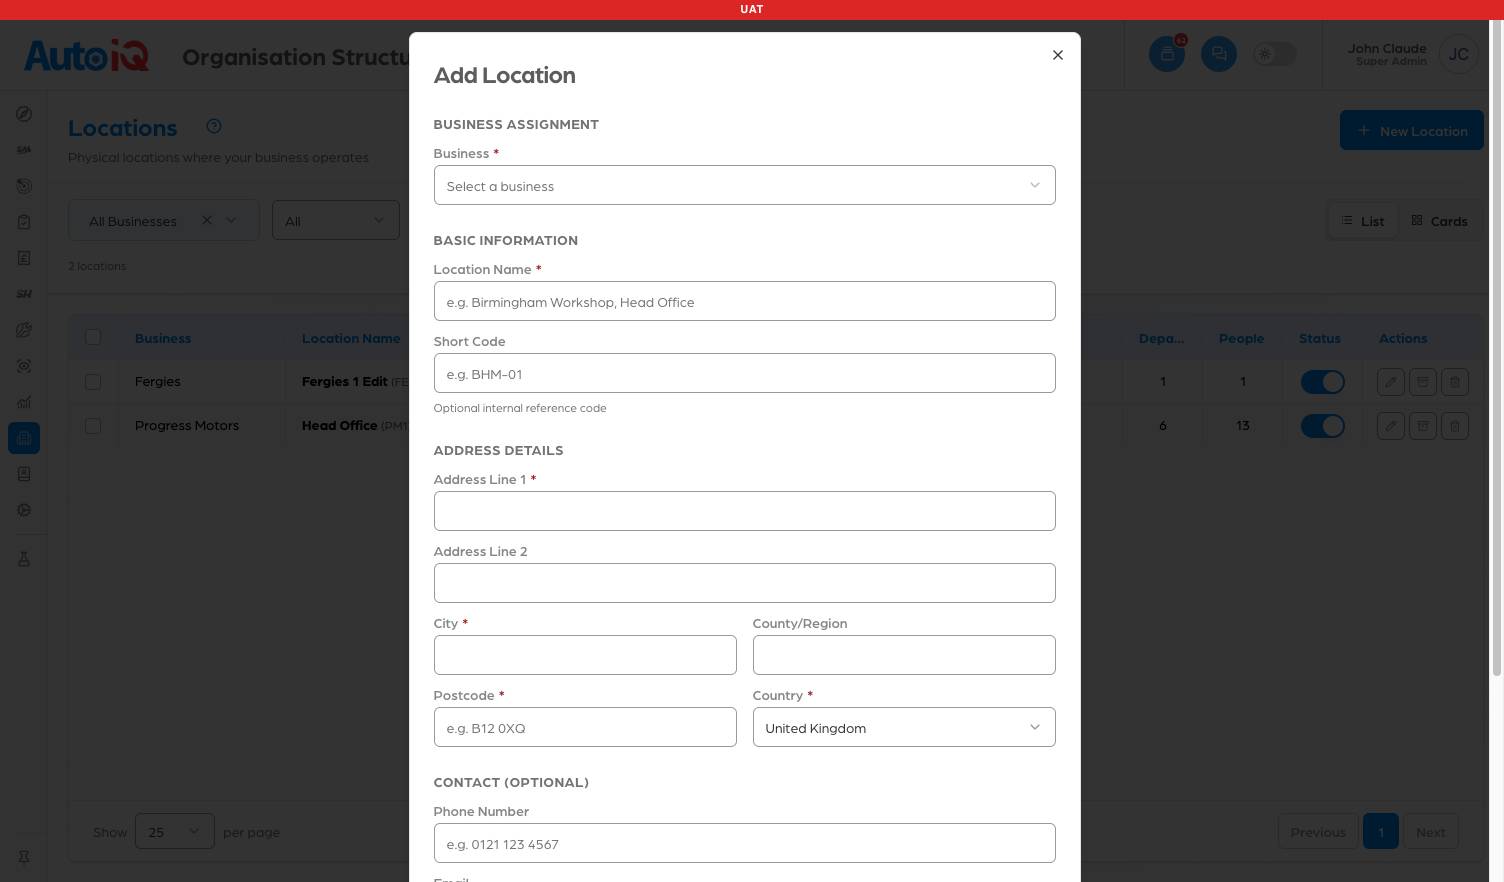
Save is greyed out when the form opens, and comes alive once you have picked the business and named the location. If anything else required is missing, pressing Save does not save: red messages appear under Address Line 1, City and Postcode. Nothing is ever half-saved.
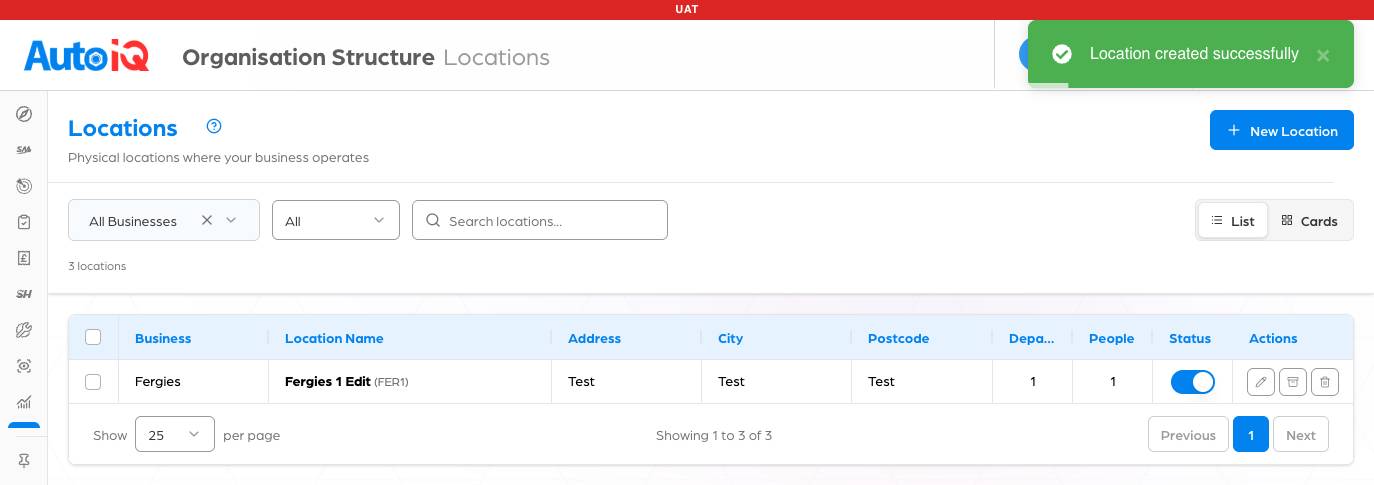
When it saves you'll see a green "Location created successfully" message and the new location in the list:
Type part of its name into Search locations. Give it a second; the list narrows to matches. Clear the search to see everything again. You can also narrow by business with the All Businesses dropdown (tick or untick businesses).
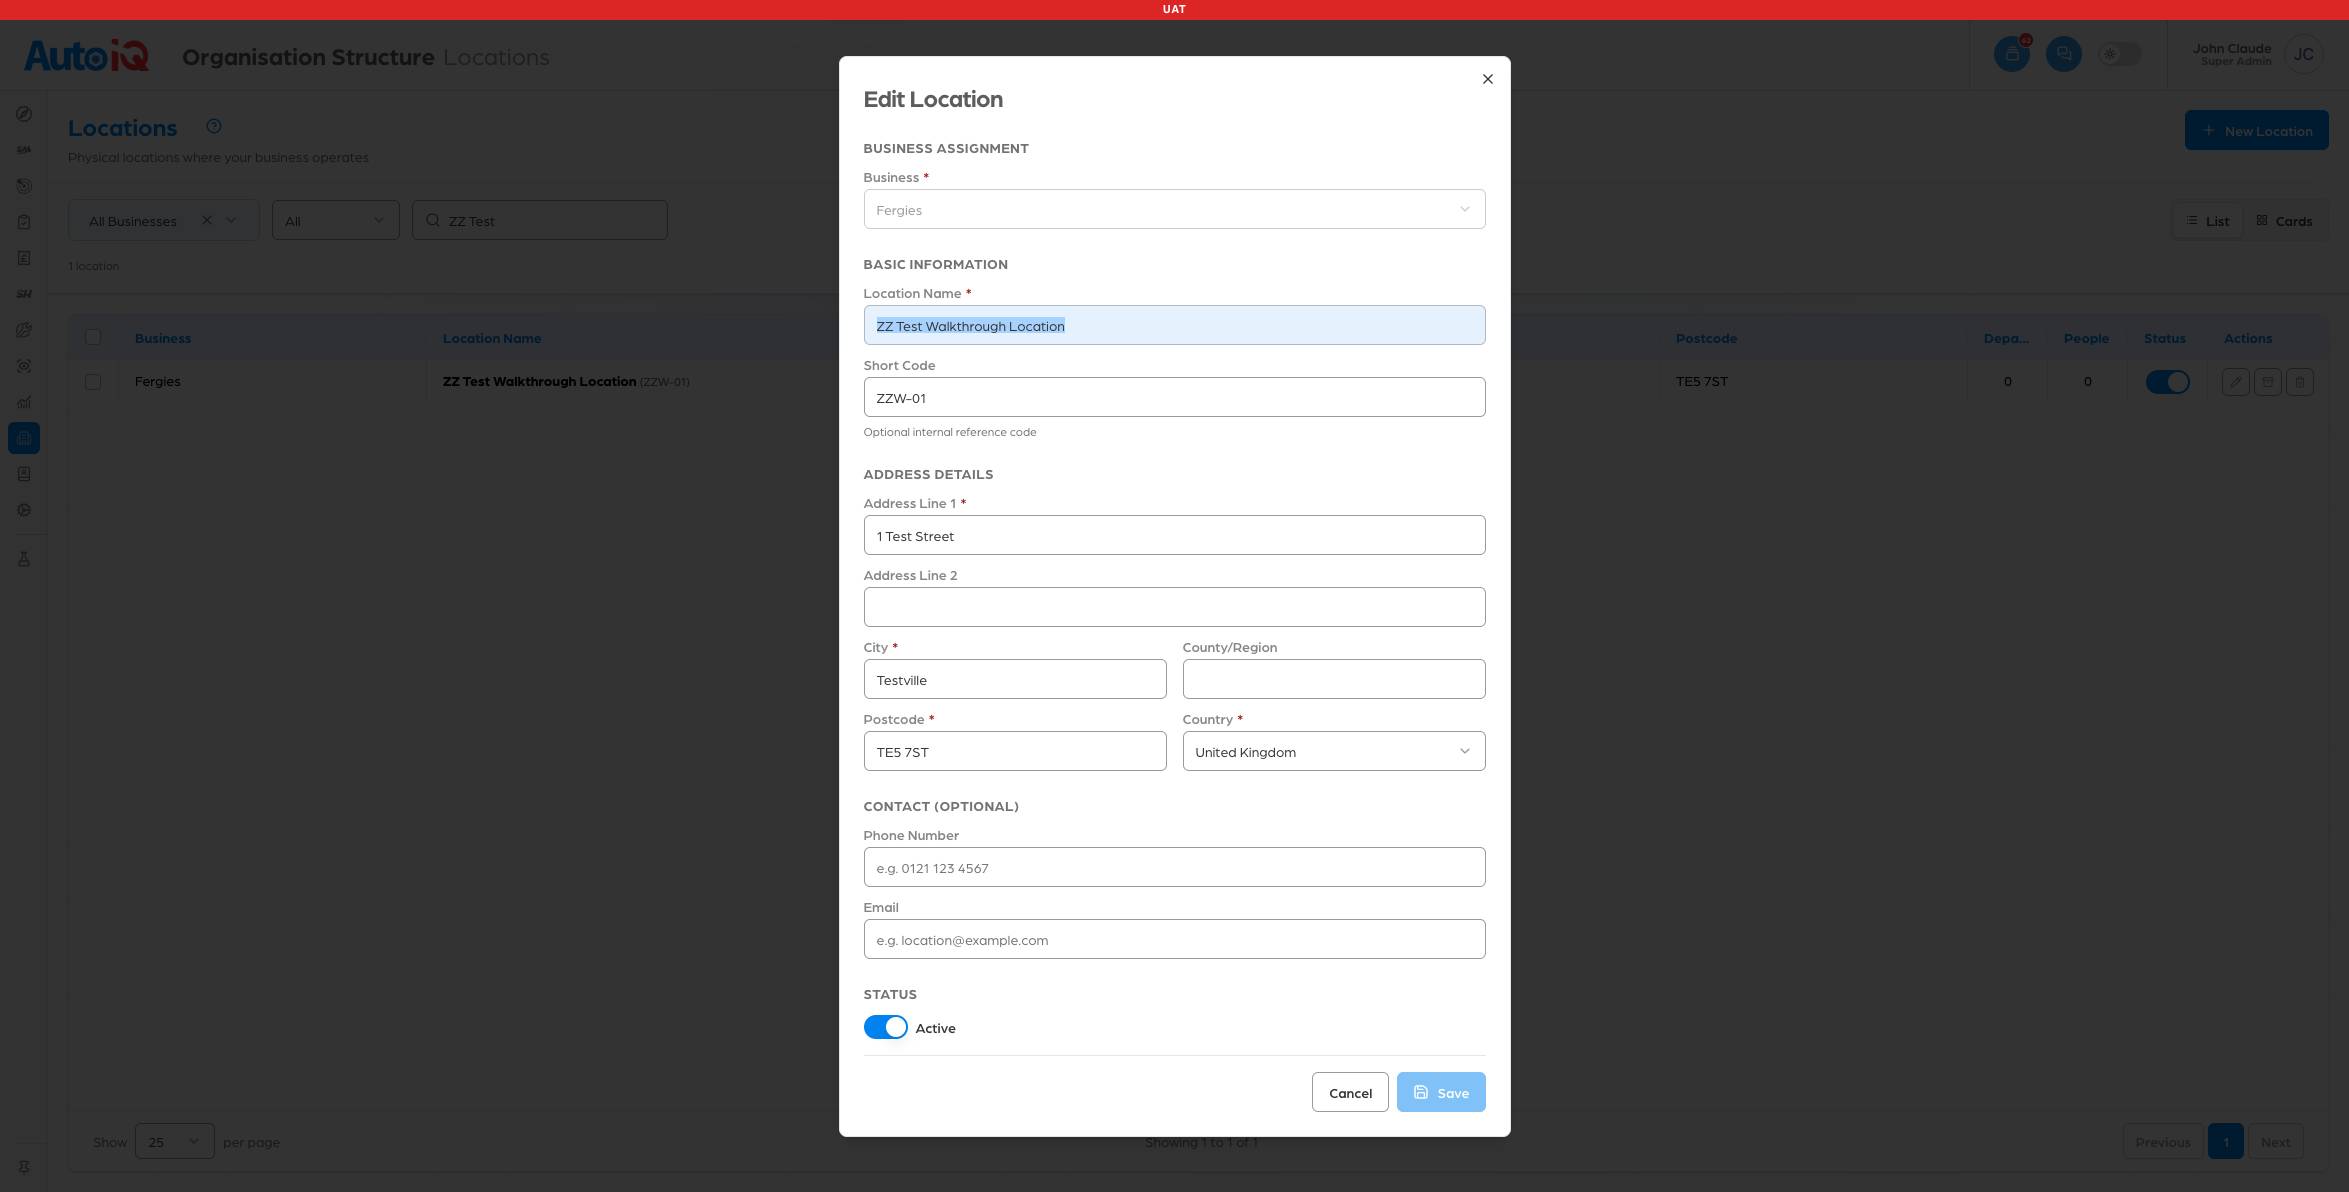
Click the pencil icon on the location's row. The same form opens with everything filled in. Change what you need and click Save. One thing you cannot change here: which business the location belongs to (it's fixed after creation).
The Status toggle on the row switches a location off (say, mothballed for winter) and on again. A green message confirms each switch.
The toggle acts immediately, with no "are you sure?", so treat it with respect.
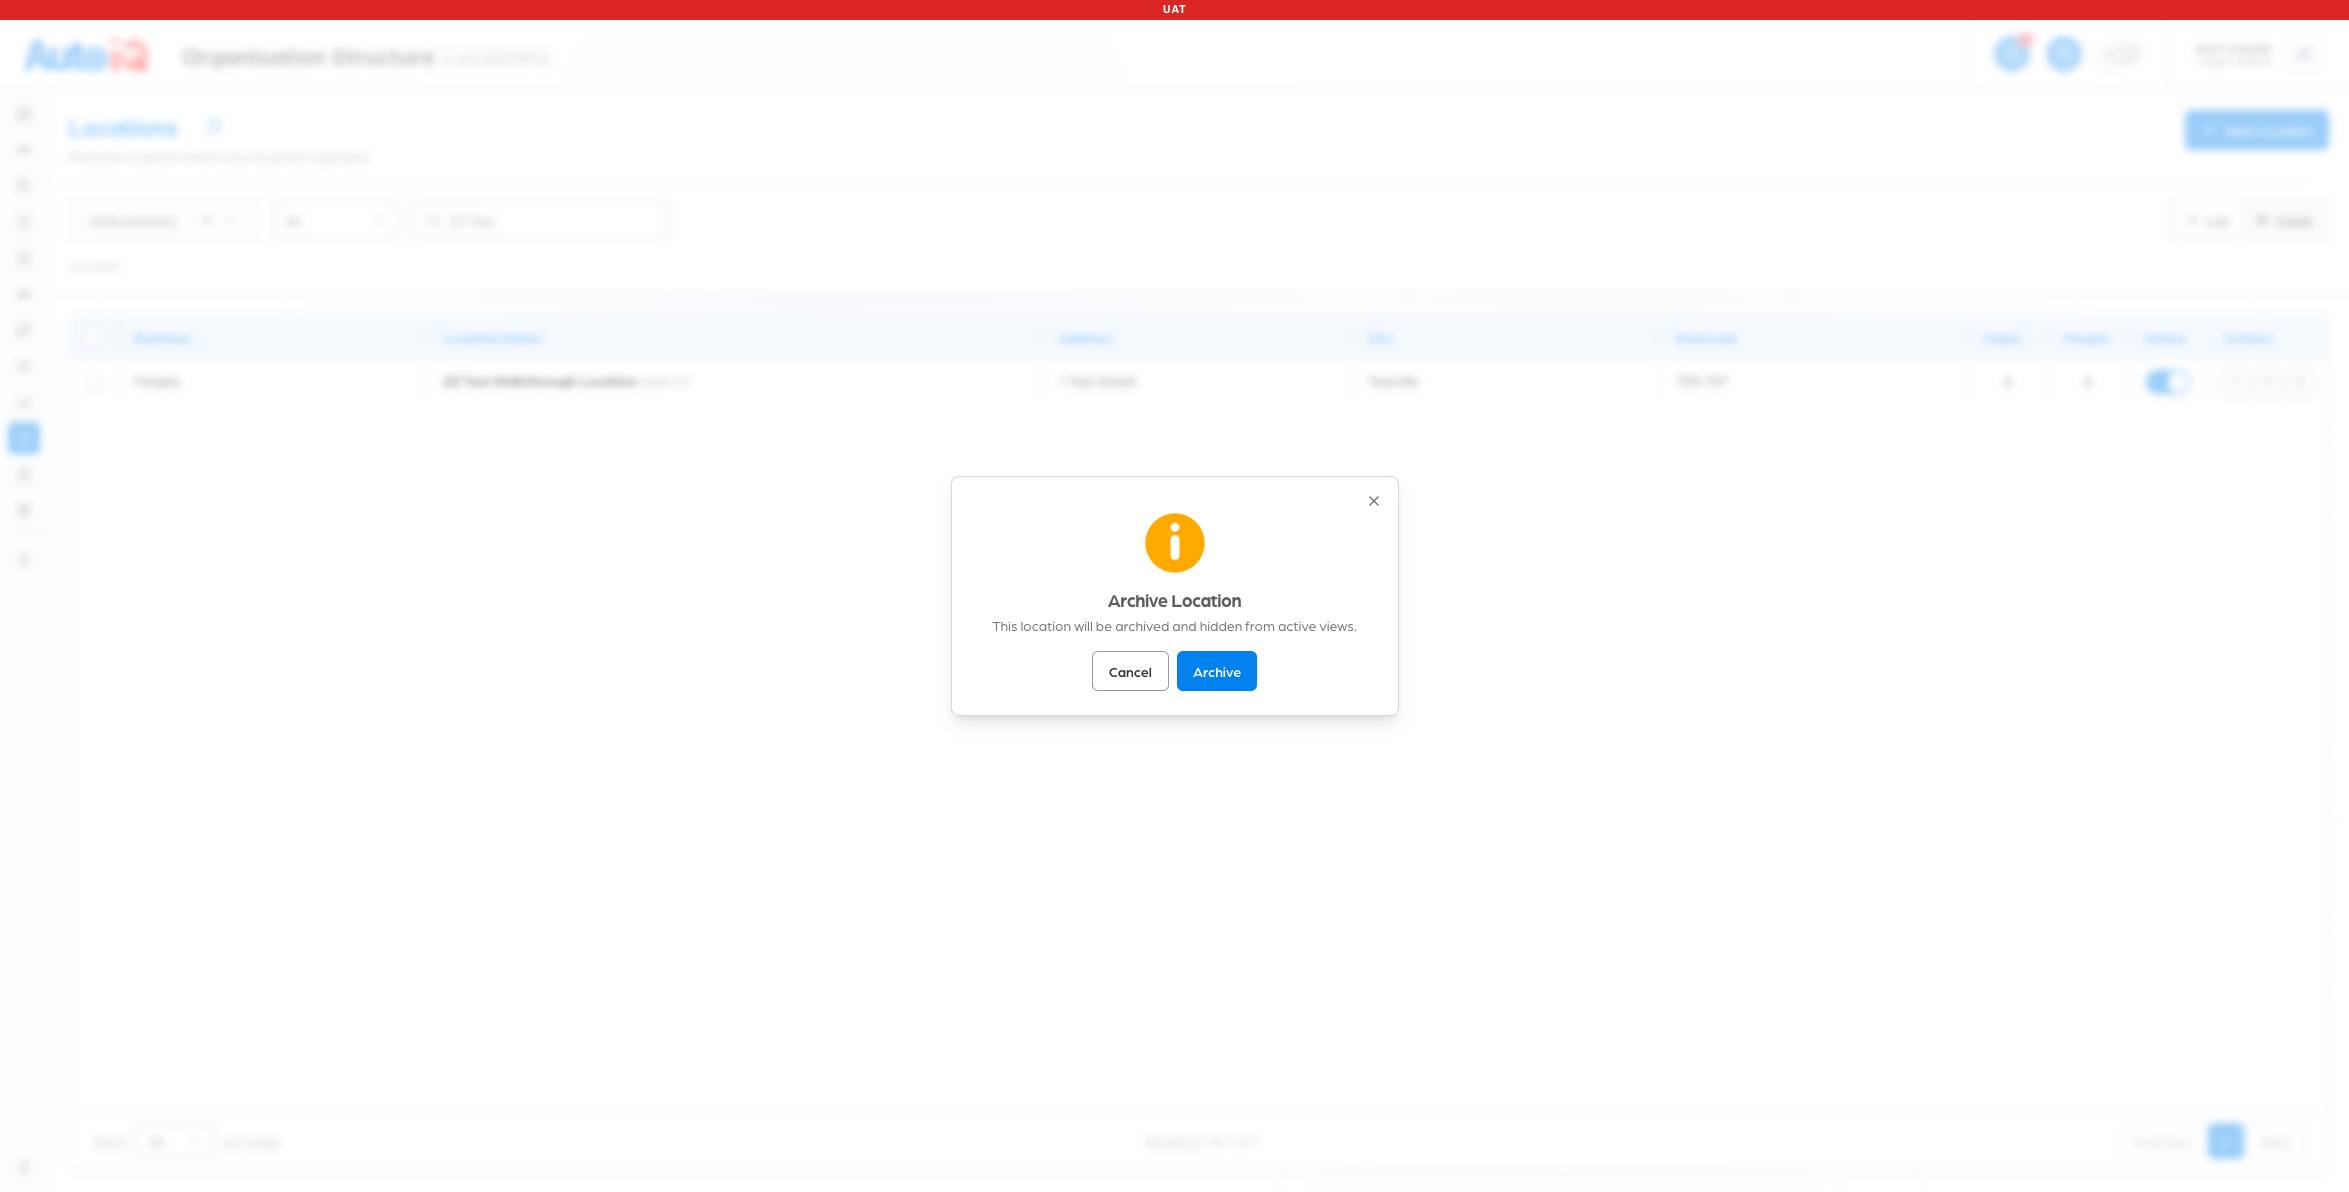
Click the archive icon (the box) on the row. You'll be asked to confirm: "This location will be archived and hidden from active views." The location is marked archived, not destroyed. Note what actually happens on screen: the list shows every status by default, so the archived location stays in front of you rather than disappearing. The status filter is what narrows the list to the ones you want to see.
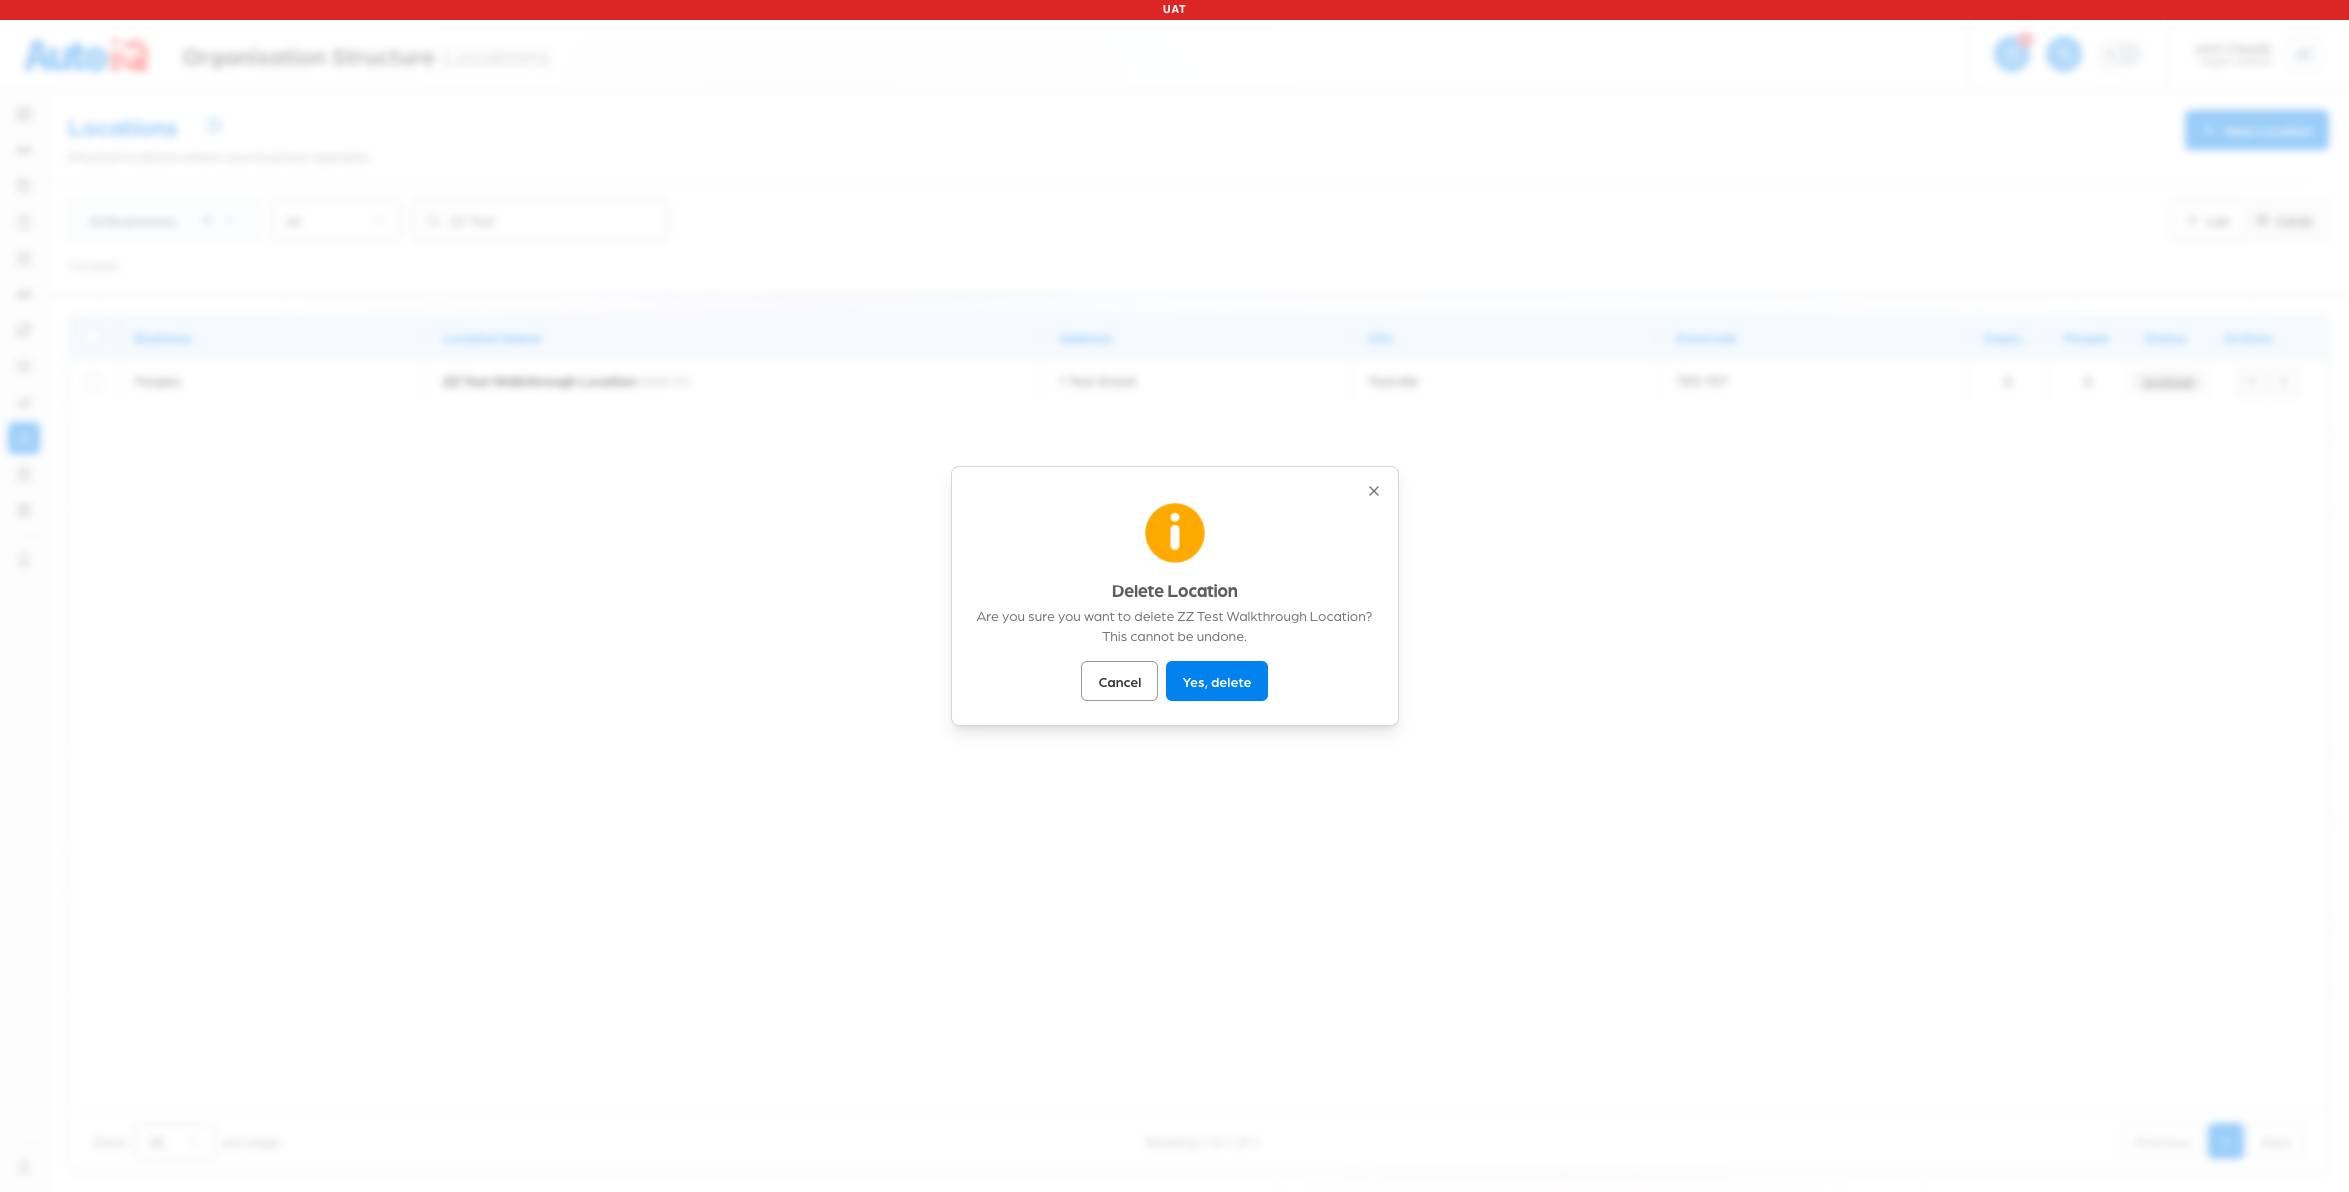
Click the bin icon on the row. You'll be asked to confirm, by name. Only click Yes, delete if you mean it; treat deletion as permanent.
The Departments and People columns show how much hangs off each location. A brand-new location shows 0 and 0; they climb as you build departments and teams there.